The making of Gisele
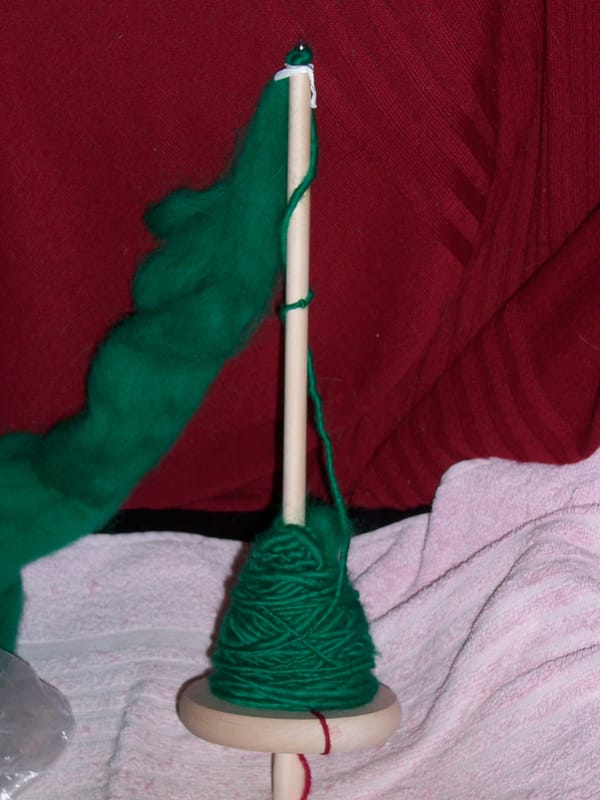
I'm not counting the Milward. I now have my first actual loom.
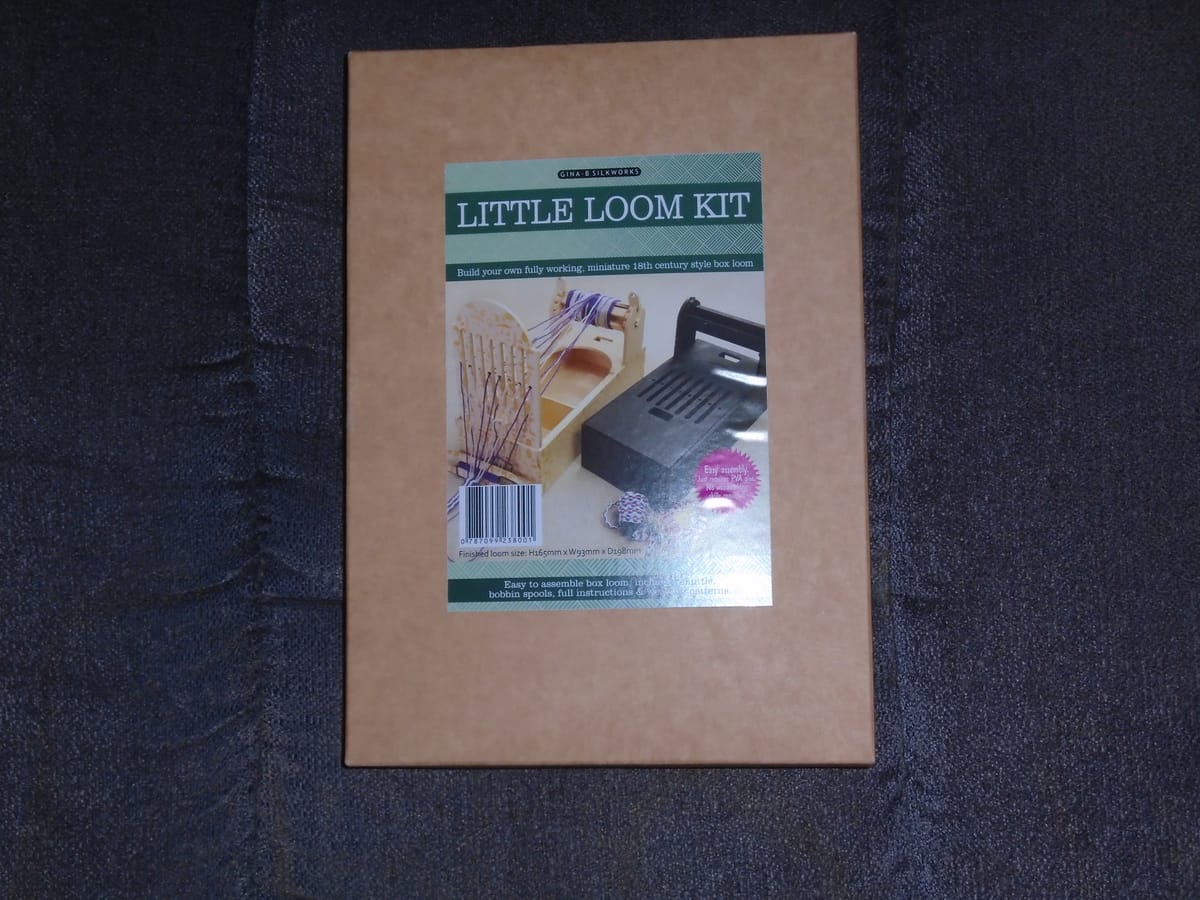
Gisele is one of these. She arrived yesterday along with various other bits and pieces, and when I opened the box I was confronted by an illustrated instruction leaflet and a ziplock bag (quite tightly taped round, for some reason, so it was quite difficult to get all the pieces out) containing a weird and wonderful assortment of bits of laser-cut MDF. When I finally did manage to get them all out, I ended up with this:
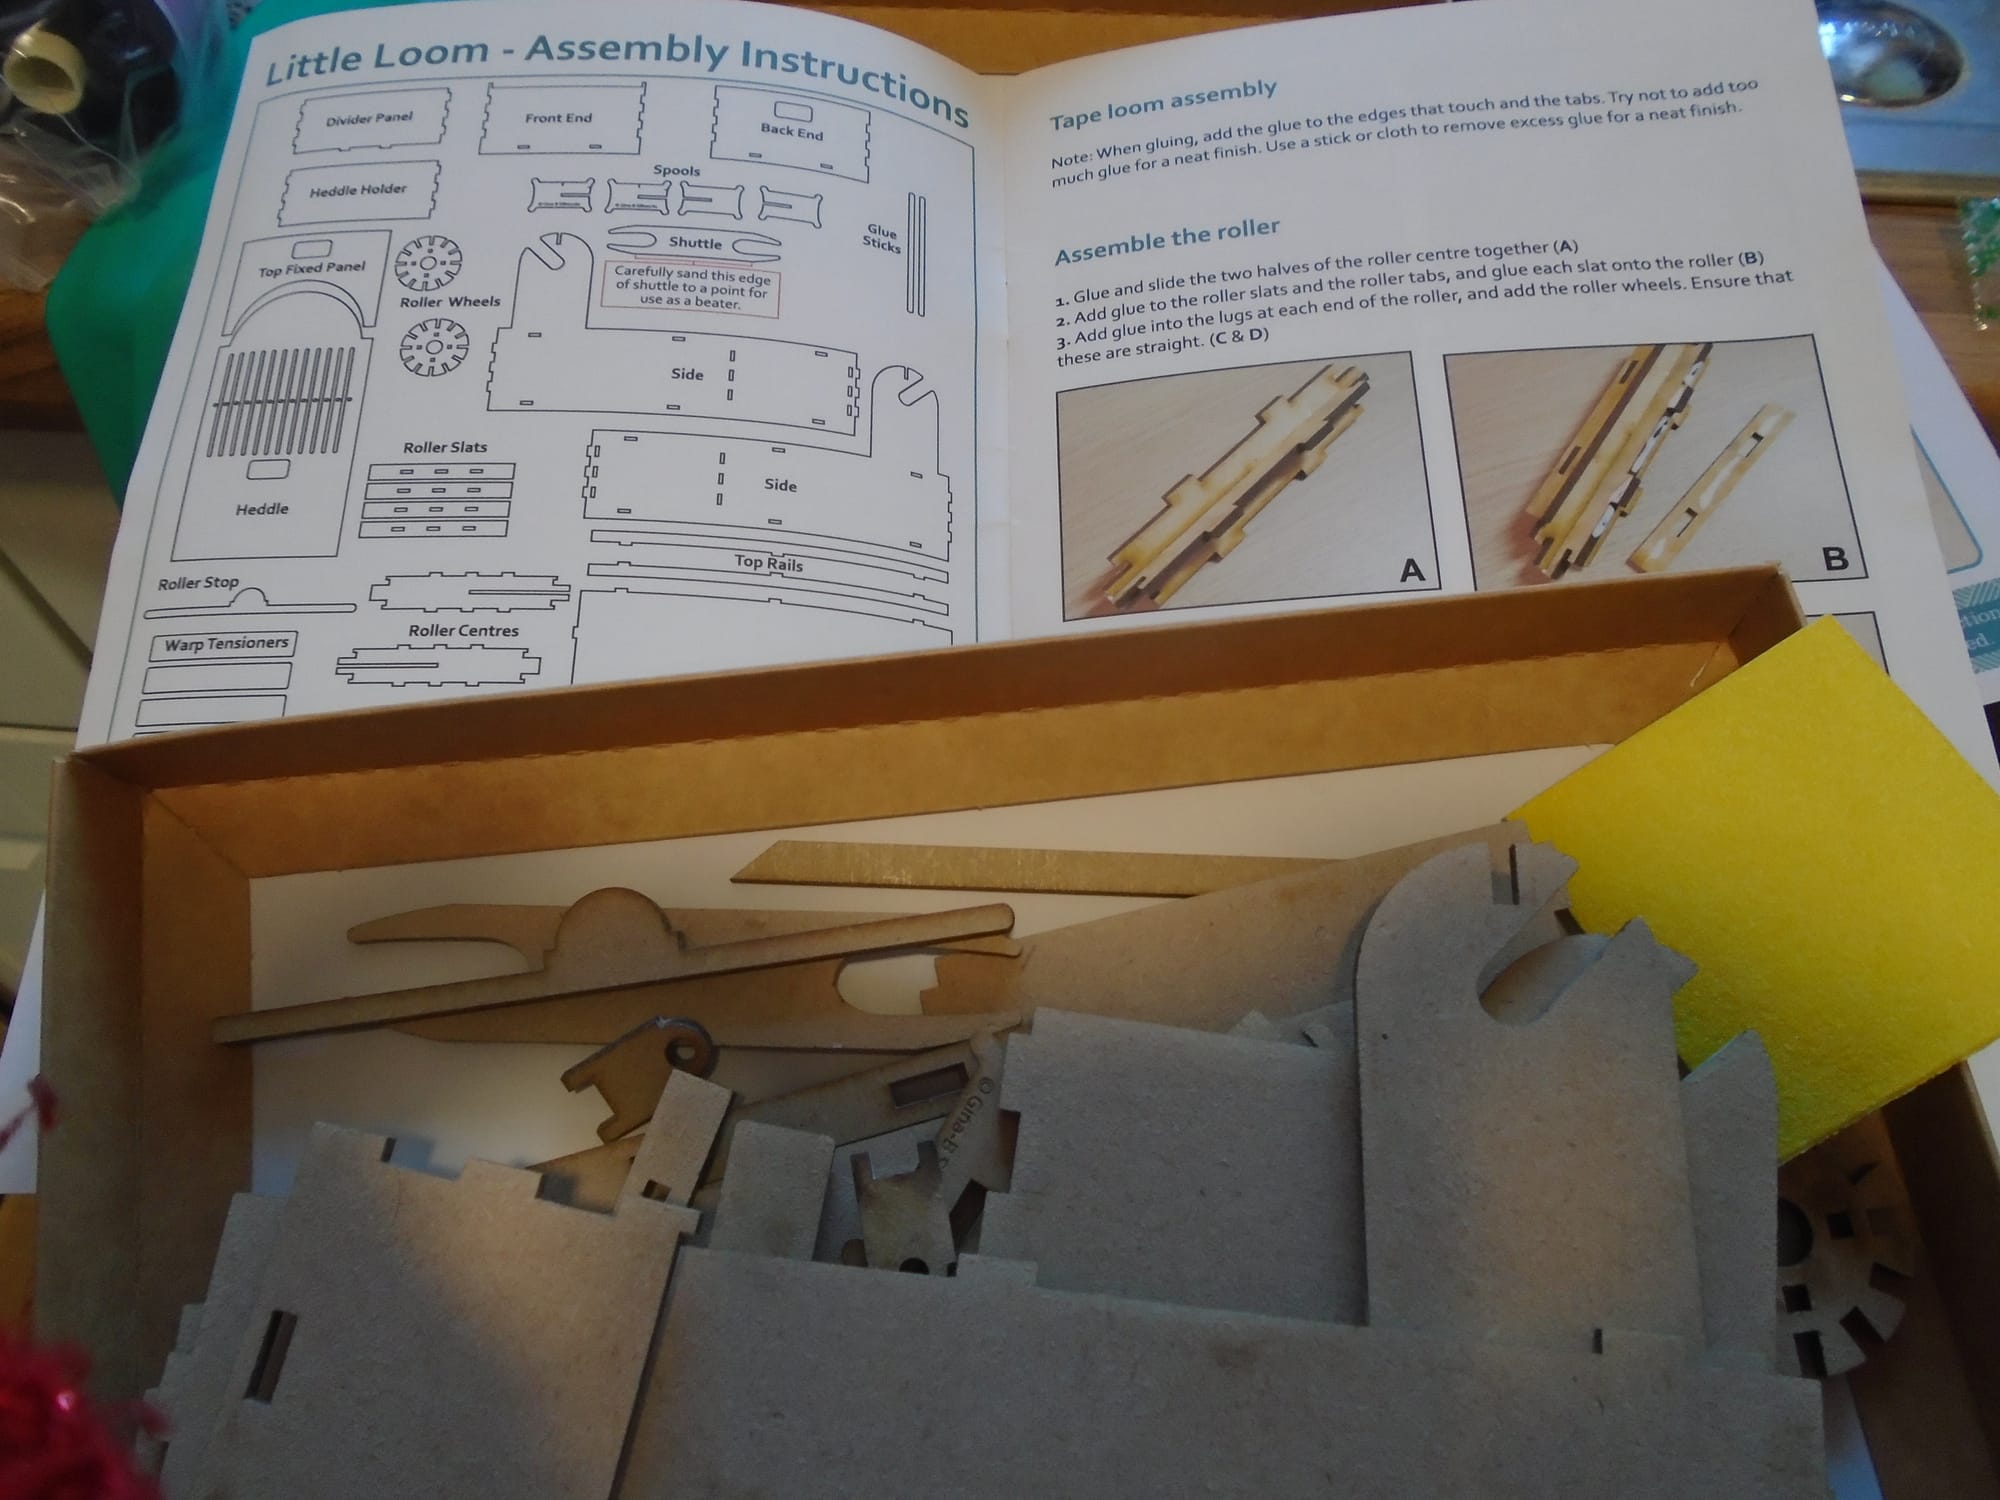
As you can see, the first thing you do is to assemble the roller. First of all you slot the two centres together, putting glue along the slots, and then you glue the four sides of the roller into place; each side slots onto the tabs sticking out along the edges of the roller centre. Next, you glue the roller wheels to the ends. Again, these slot neatly into place. Literally everything does; the glue is just there to hold it firmly, but this thing is so well made that you could probably put it all together without the glue and it'd still basically work. You'd just need to take extra care with it in use.
There are quite a few places in the instructions where it tells you to tape a piece into place to hold it while the glue is drying, if needed. I am pretty sure you won't need to do this, should you feel like building yourself one of these. I didn't. This is not your IKEA-standard self-assembly item. This is precision stuff. (Don't get me wrong; I have nothing against IKEA. They do what they do pretty well. I merely accept the fact that occasionally you've got to extend a hole a little to one side so you can get the required fitting through it.)
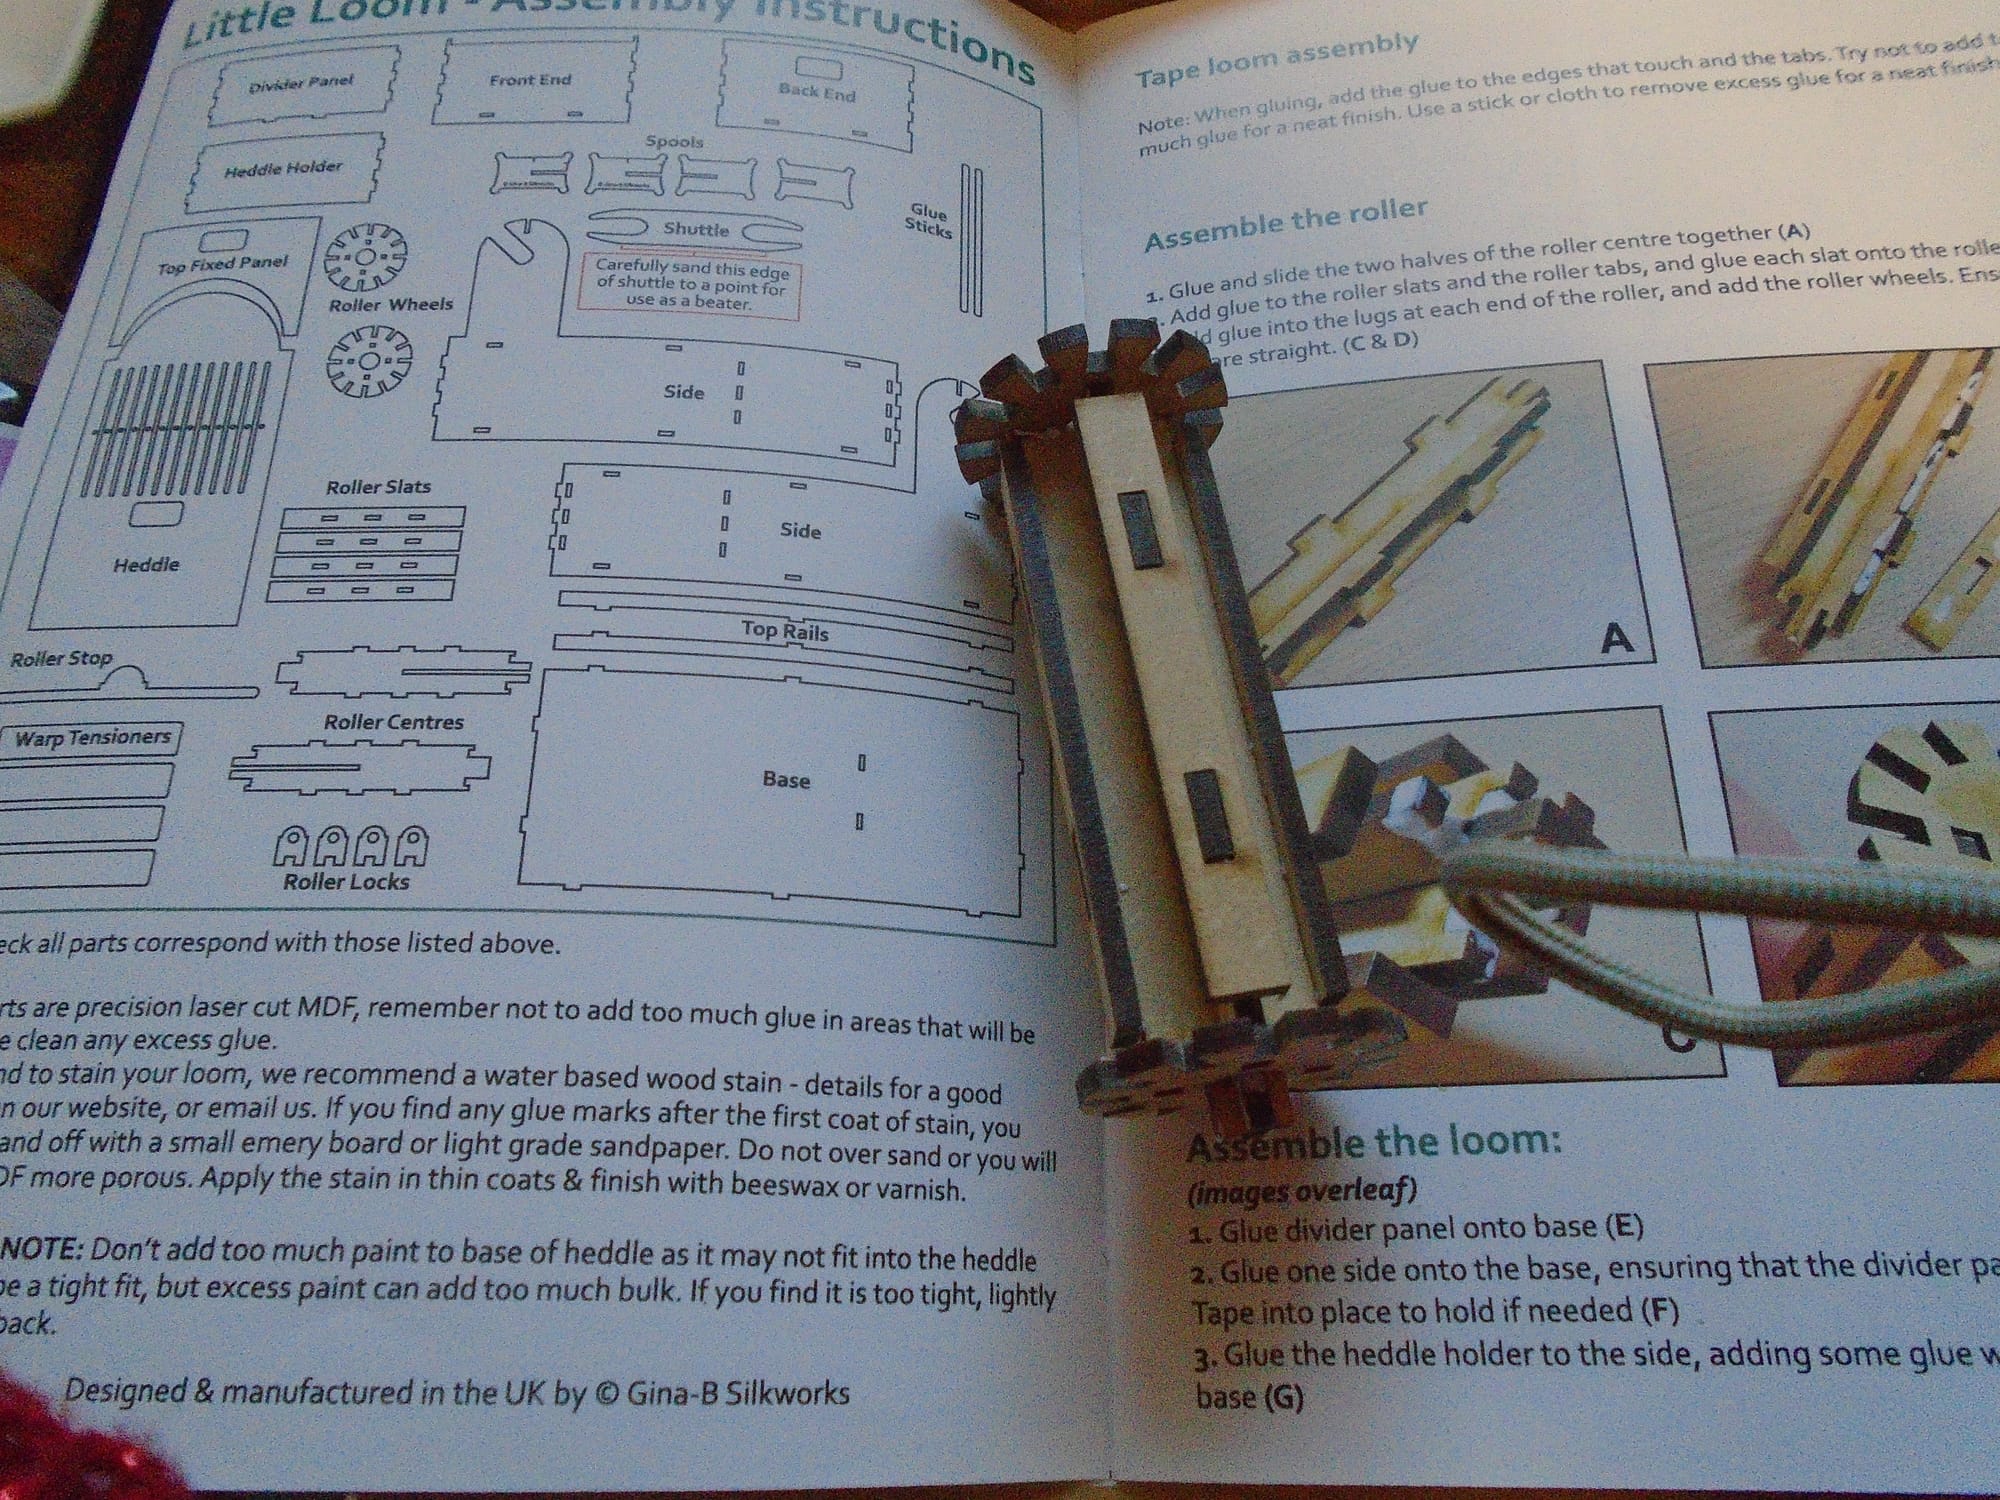
Anyway, once you've made the roller, you can then get started on the loom itself. This is what it looks like more or less half built; it happened to be where I knocked off for lunch.
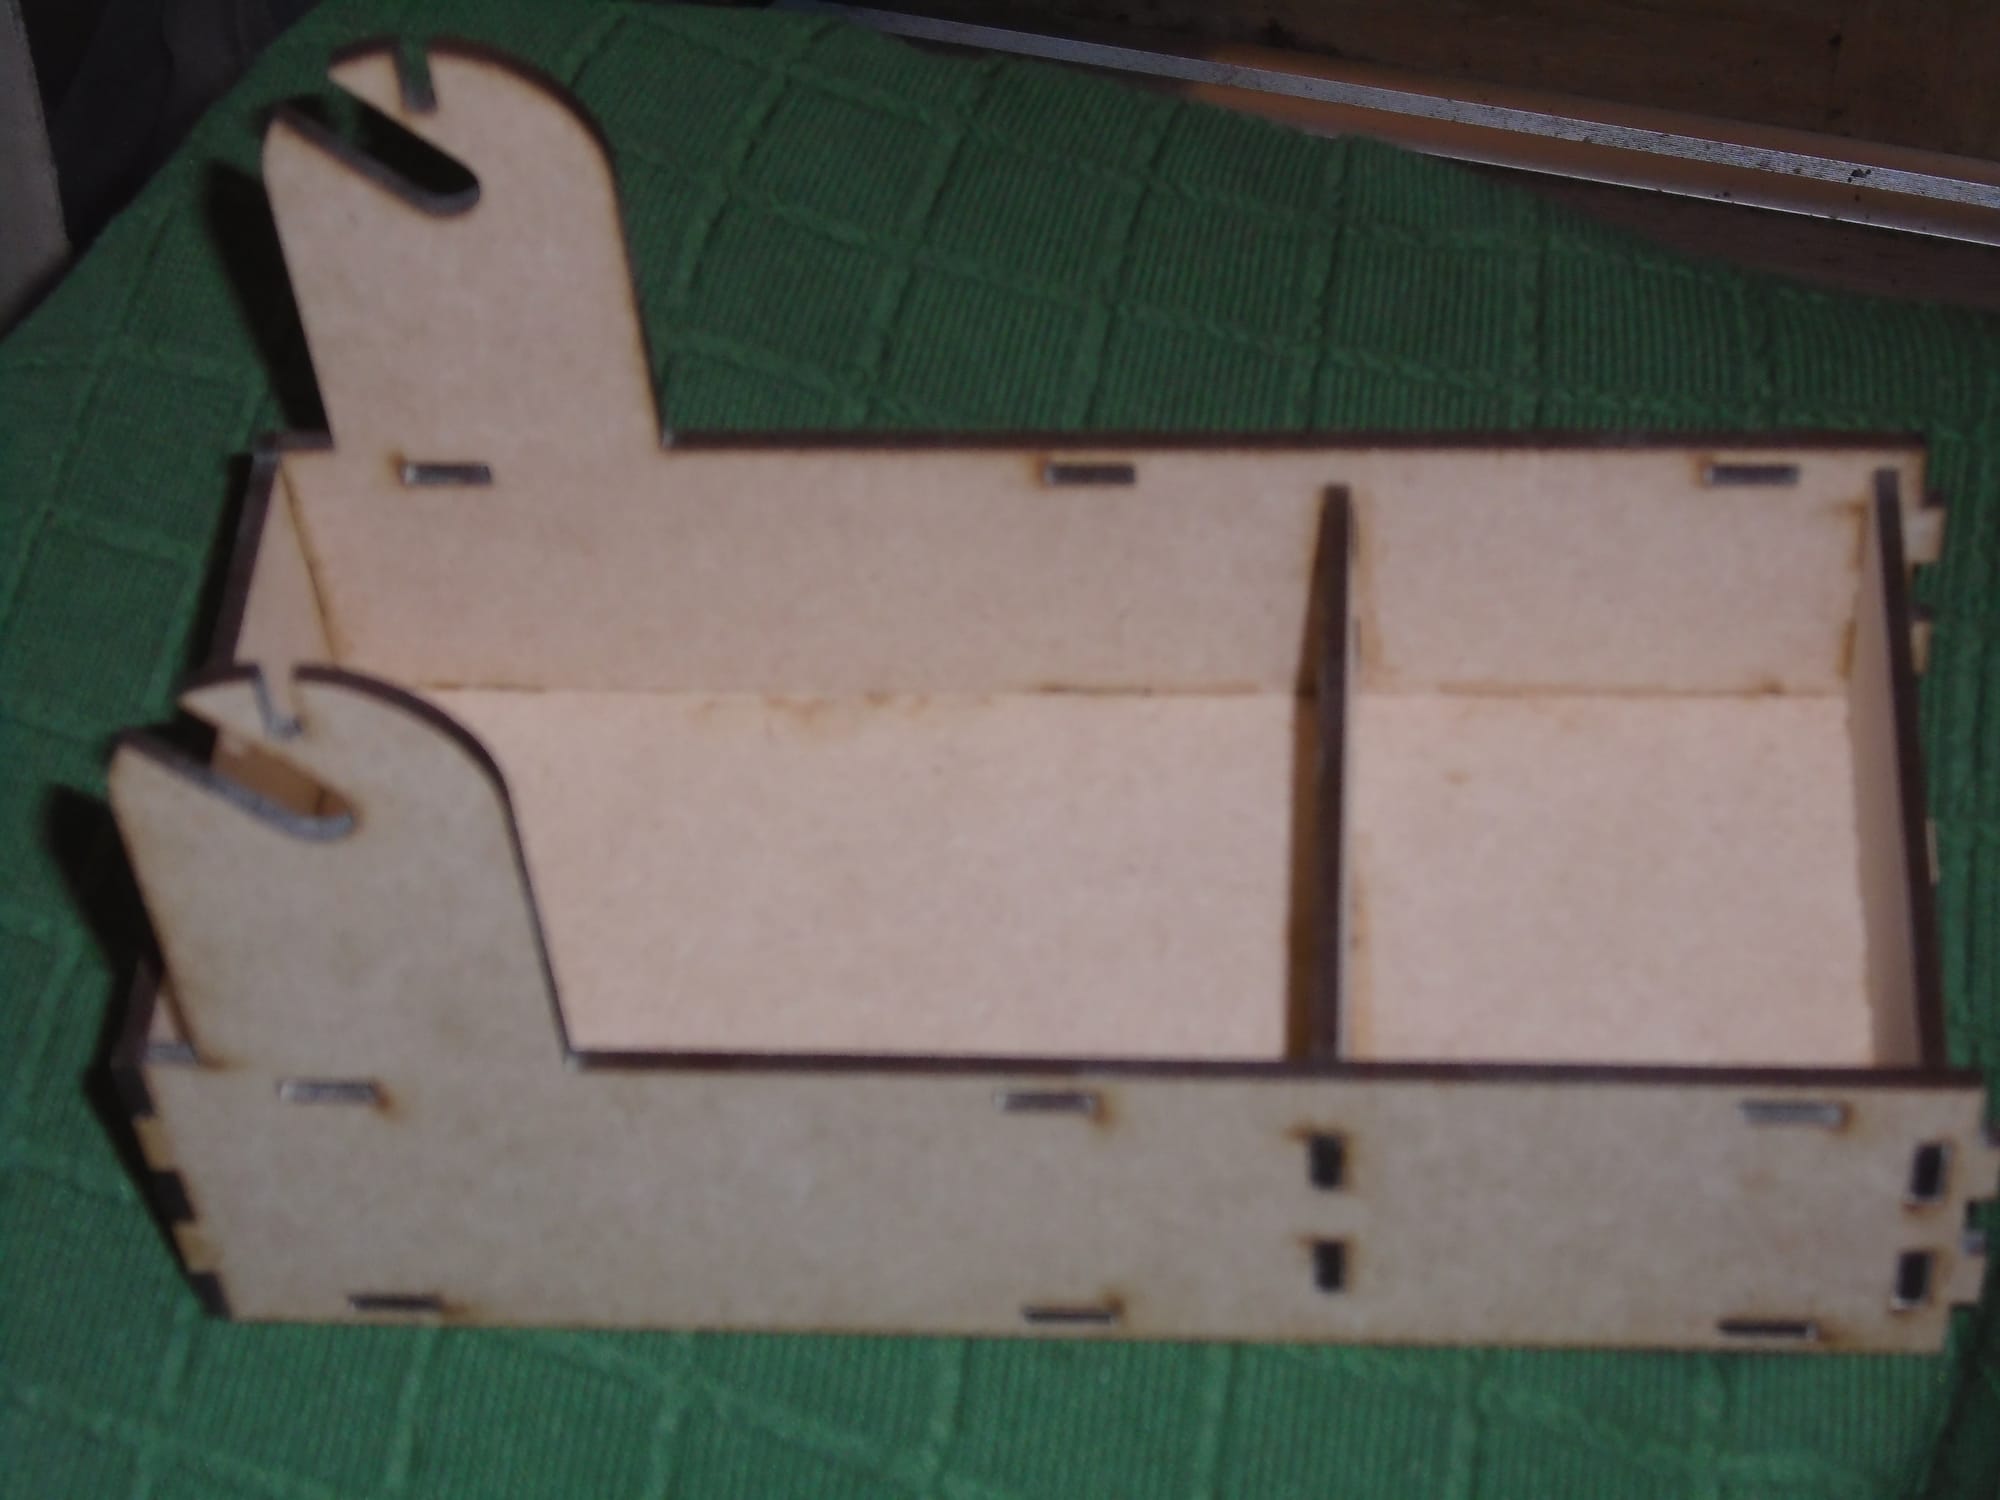
You'll notice that there are still tabs sticking out at the front of the loom. There's a reason for that. The piece that looks like the front piece actually isn't; it's an extra piece to hold the heddle upright when the loom is in use. The front piece itself is going to go over those tabs, and that will leave a narrow gap into which the heddle can slot. If you look at the feature photo, which shows two of these looms made up on the box label, you can see that one of them is in use and has the heddle standing upright, while the other one has the heddle lying flat on top of the box for storage. (And I confess I made a slight mistake initially; the back piece has an opening in it, while the front piece doesn't, and I accidentally glued the front piece where the back piece should go. I realised and fixed that soon after this photo was taken.)
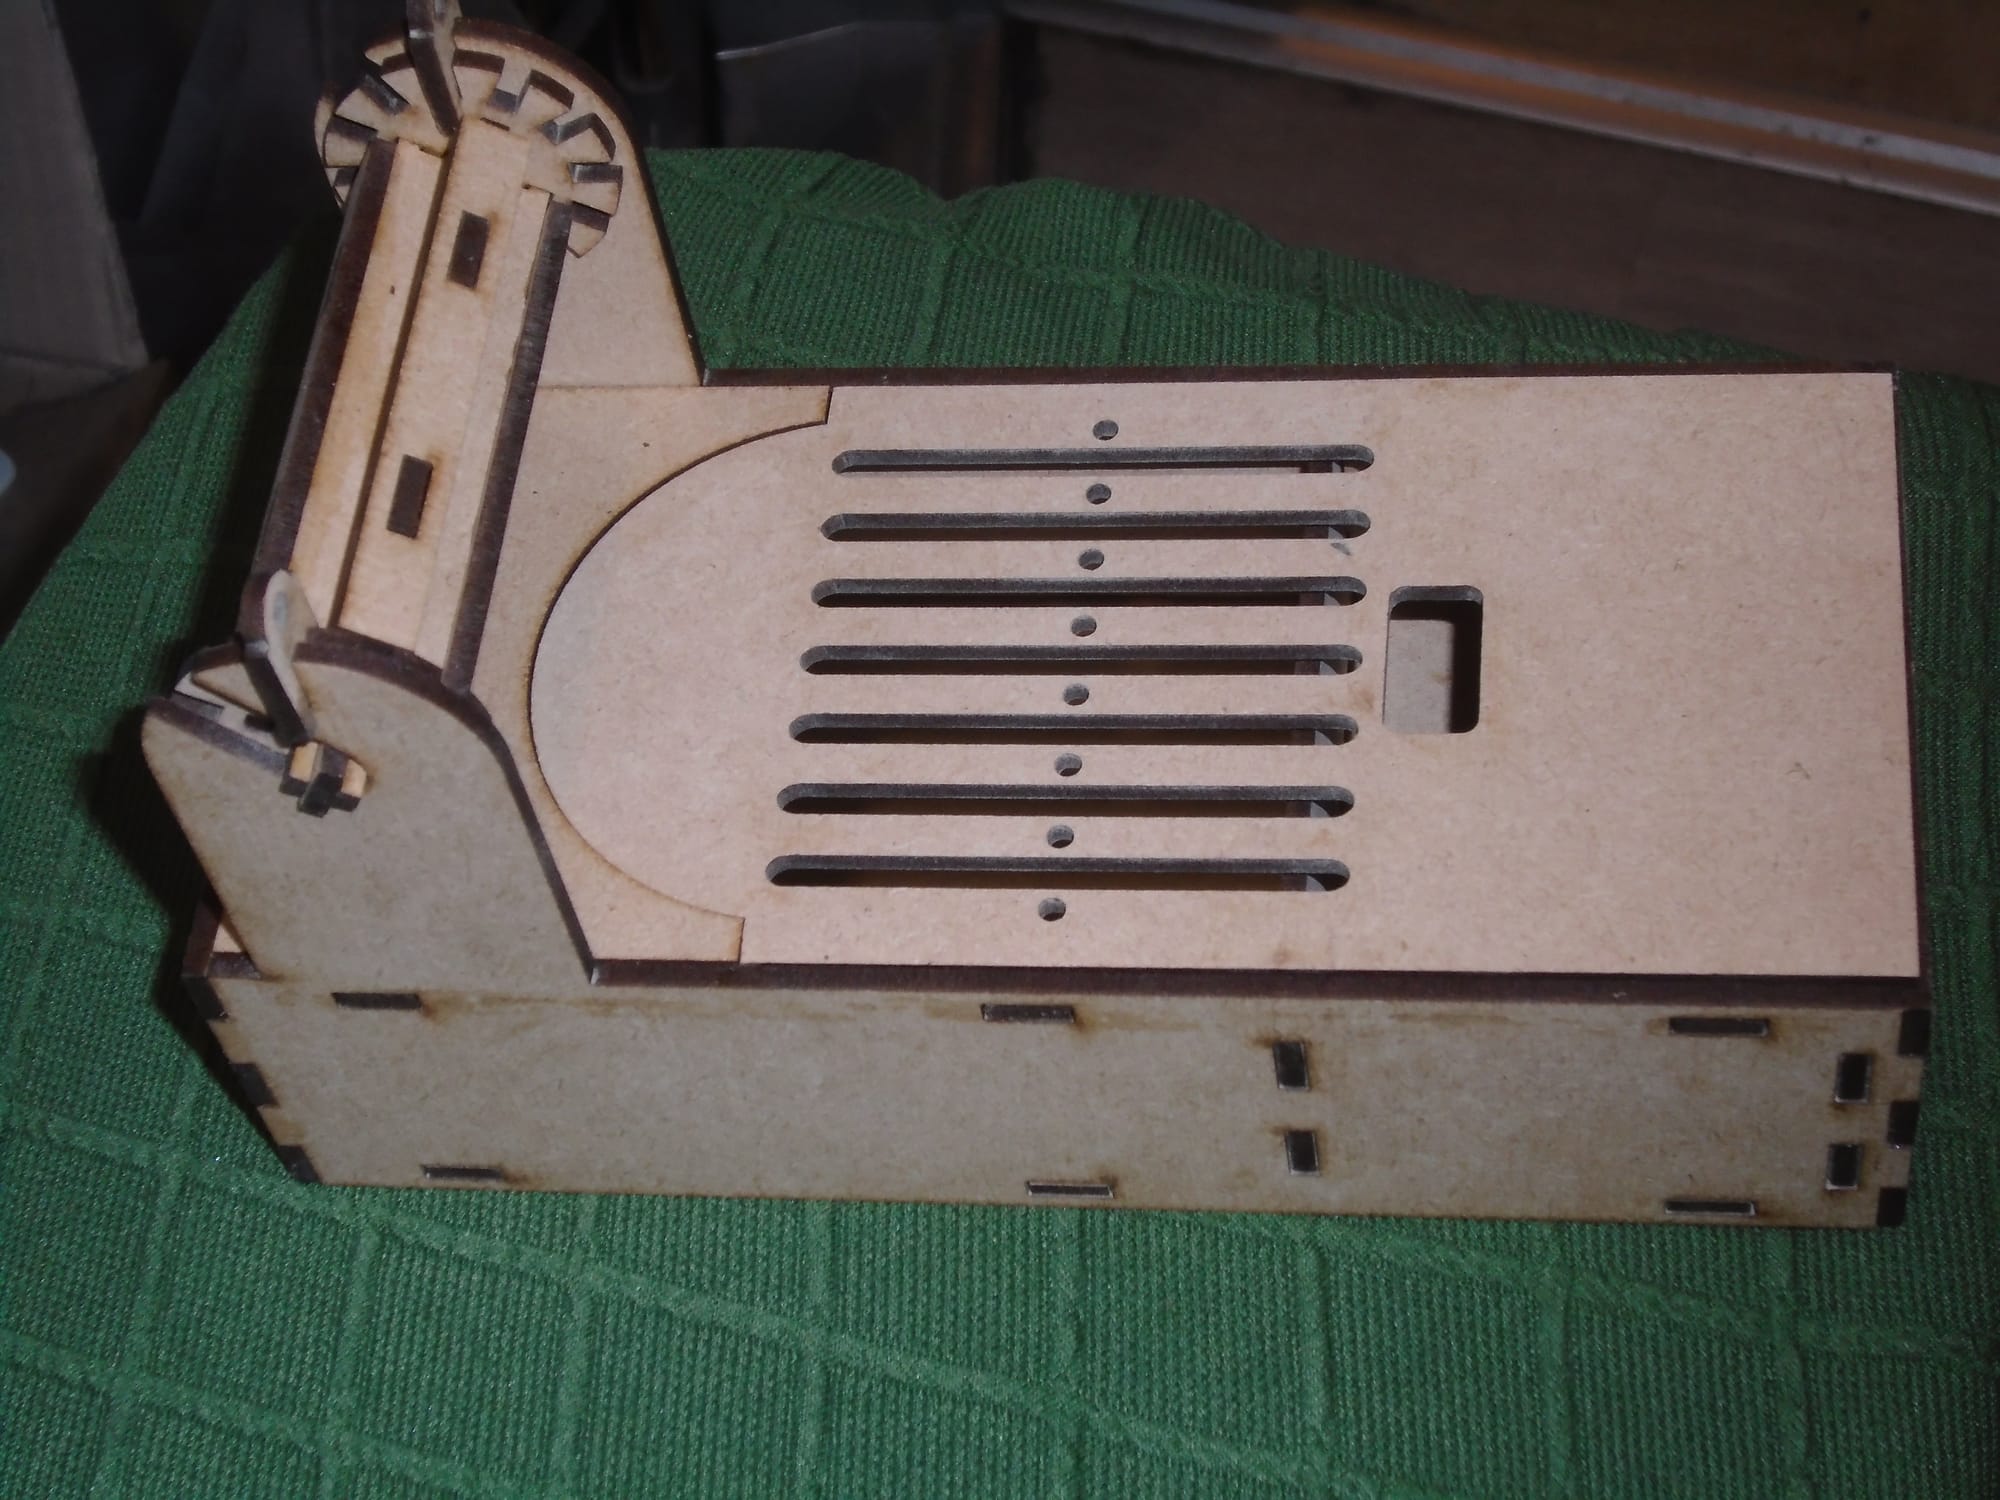
So once you get this far, you add the front piece, and then the top rails. These go on the inside of the box, held by the top row of slots, and their purpose is to provide a platform for the curved fixed panel at the back of the loom and the heddle (when it's lying on top). You then glue the fixed panel in place and rest the heddle in lid position while the glue is drying, to make sure everything stays straight, like this:
The whole thing is surprisingly easy to build, given the initially rather daunting number of pieces. The instructions are extremely clear, and everything is fully illustrated, so you can see exactly what you're doing at every point. Before I use her, she's going to get a few coats of acrylic paint; I am quite tempted by the Sennelier gold over the yellow ochre (it does need to go over something, as it is rather more transparent than I'd really like for something where the tabs have much darker edges than the surrounding areas due to the laser cutting), but on the other hand the hunter green and the Payne's Grey both give excellent coverage without too many coats. So we'll see. By the time I get round to a post where she's in use, then obviously I'll have made a decision.
The instructions are not just for assembly; they also cover setting her up and weaving. I thought she might give me a more balanced weave than the Inklette, but no, she's warp-faced too. She doesn't weave very wide tapes (after all, she won't take more than 15 warp threads), but on the other hand she'll weave an effectively unlimited length, which the Inklette won't; that, I think, is going to be a much better loom, but it has a maximum length of 1.8 metres. So I think Gisele here is going to be excellent for trims. In the light of what Mr Herring said the other day, I'm quite interested to see that one of the types of thread they specifically recommend is linen, so I shall try that at some point. However, I'll probably start with cotton DK yarn, of which I have plenty.
Oh, and I also ordered these to go with her, and I'm very glad I did. There is a thing that looks like a small blunt comb, which is for designing warp-faced patterns; I thought that would be more use for the Inklette, but no, it'll be good for both looms. You wrap your threads over the teeth so you can see what the design is going to look like. Then there's another little thing for checking how many warps you need to the centimetre (or inch, if you prefer; it just depends what you choose to measure with). Both of them can handily live in the base of the loom, along with the shuttles and roller lockers and other movable parts.
So, if you're thinking you might like to give weaving a try but are put off by the size and/or cost of most looms (and if I have successfully put you off buying the Milward, of course!), then this little thing is a really good idea. It's both easy and fun to assemble, the price isn't eye-watering, and you can't really lose; if you get bitten by the weaving bug you can then go on to buy a larger loom (or two, or more...), and if you don't, well, you had a good try, and you can wrap it up and give it to your craft-enthusiast relative for their next birthday.
In fact, you might just want to do that anyway!