Square dance
Today we're having a little change. I'm going to talk about one of my more obscure crafts; it has various names, including "filet lace" and "lacis". I usually refer to it as "filet embroidery" or just "filet" - not to be confused with filet crochet, which looks quite similar. There's a reason for that, in fact. Filet crochet was invented to imitate filet embroidery, as it is a lot quicker and easier to do.
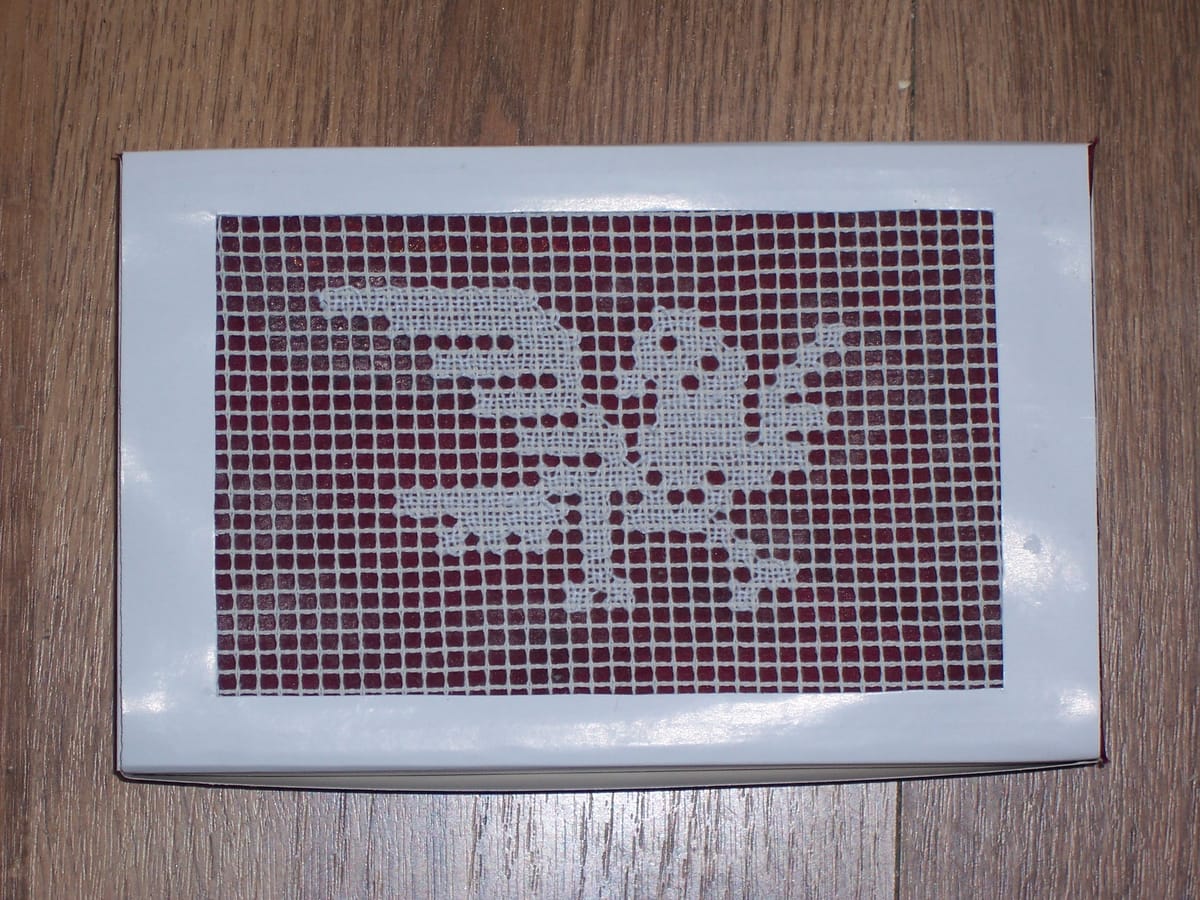
As you can see from the photo, it is, when you get right down to it, just very neat darning on a square-mesh net. I am not certain exactly when it was invented, but I do know that it became very popular during the Renaissance, and that one of the most skilful and prolific designers of filet patterns was one Federico di Vinciolo (the link takes you to a collection of a few of his patterns; he produced several books of them). Vinciolo liked to design large and ornate patterns - complex borders, hunting scenes, and even an entire set of calendar panels, one for each month, featuring putti engaged in various seasonal activities. However, he also did some smaller motifs, and if I recall correctly the bird shown here is taken from one of Vinciolo's designs.
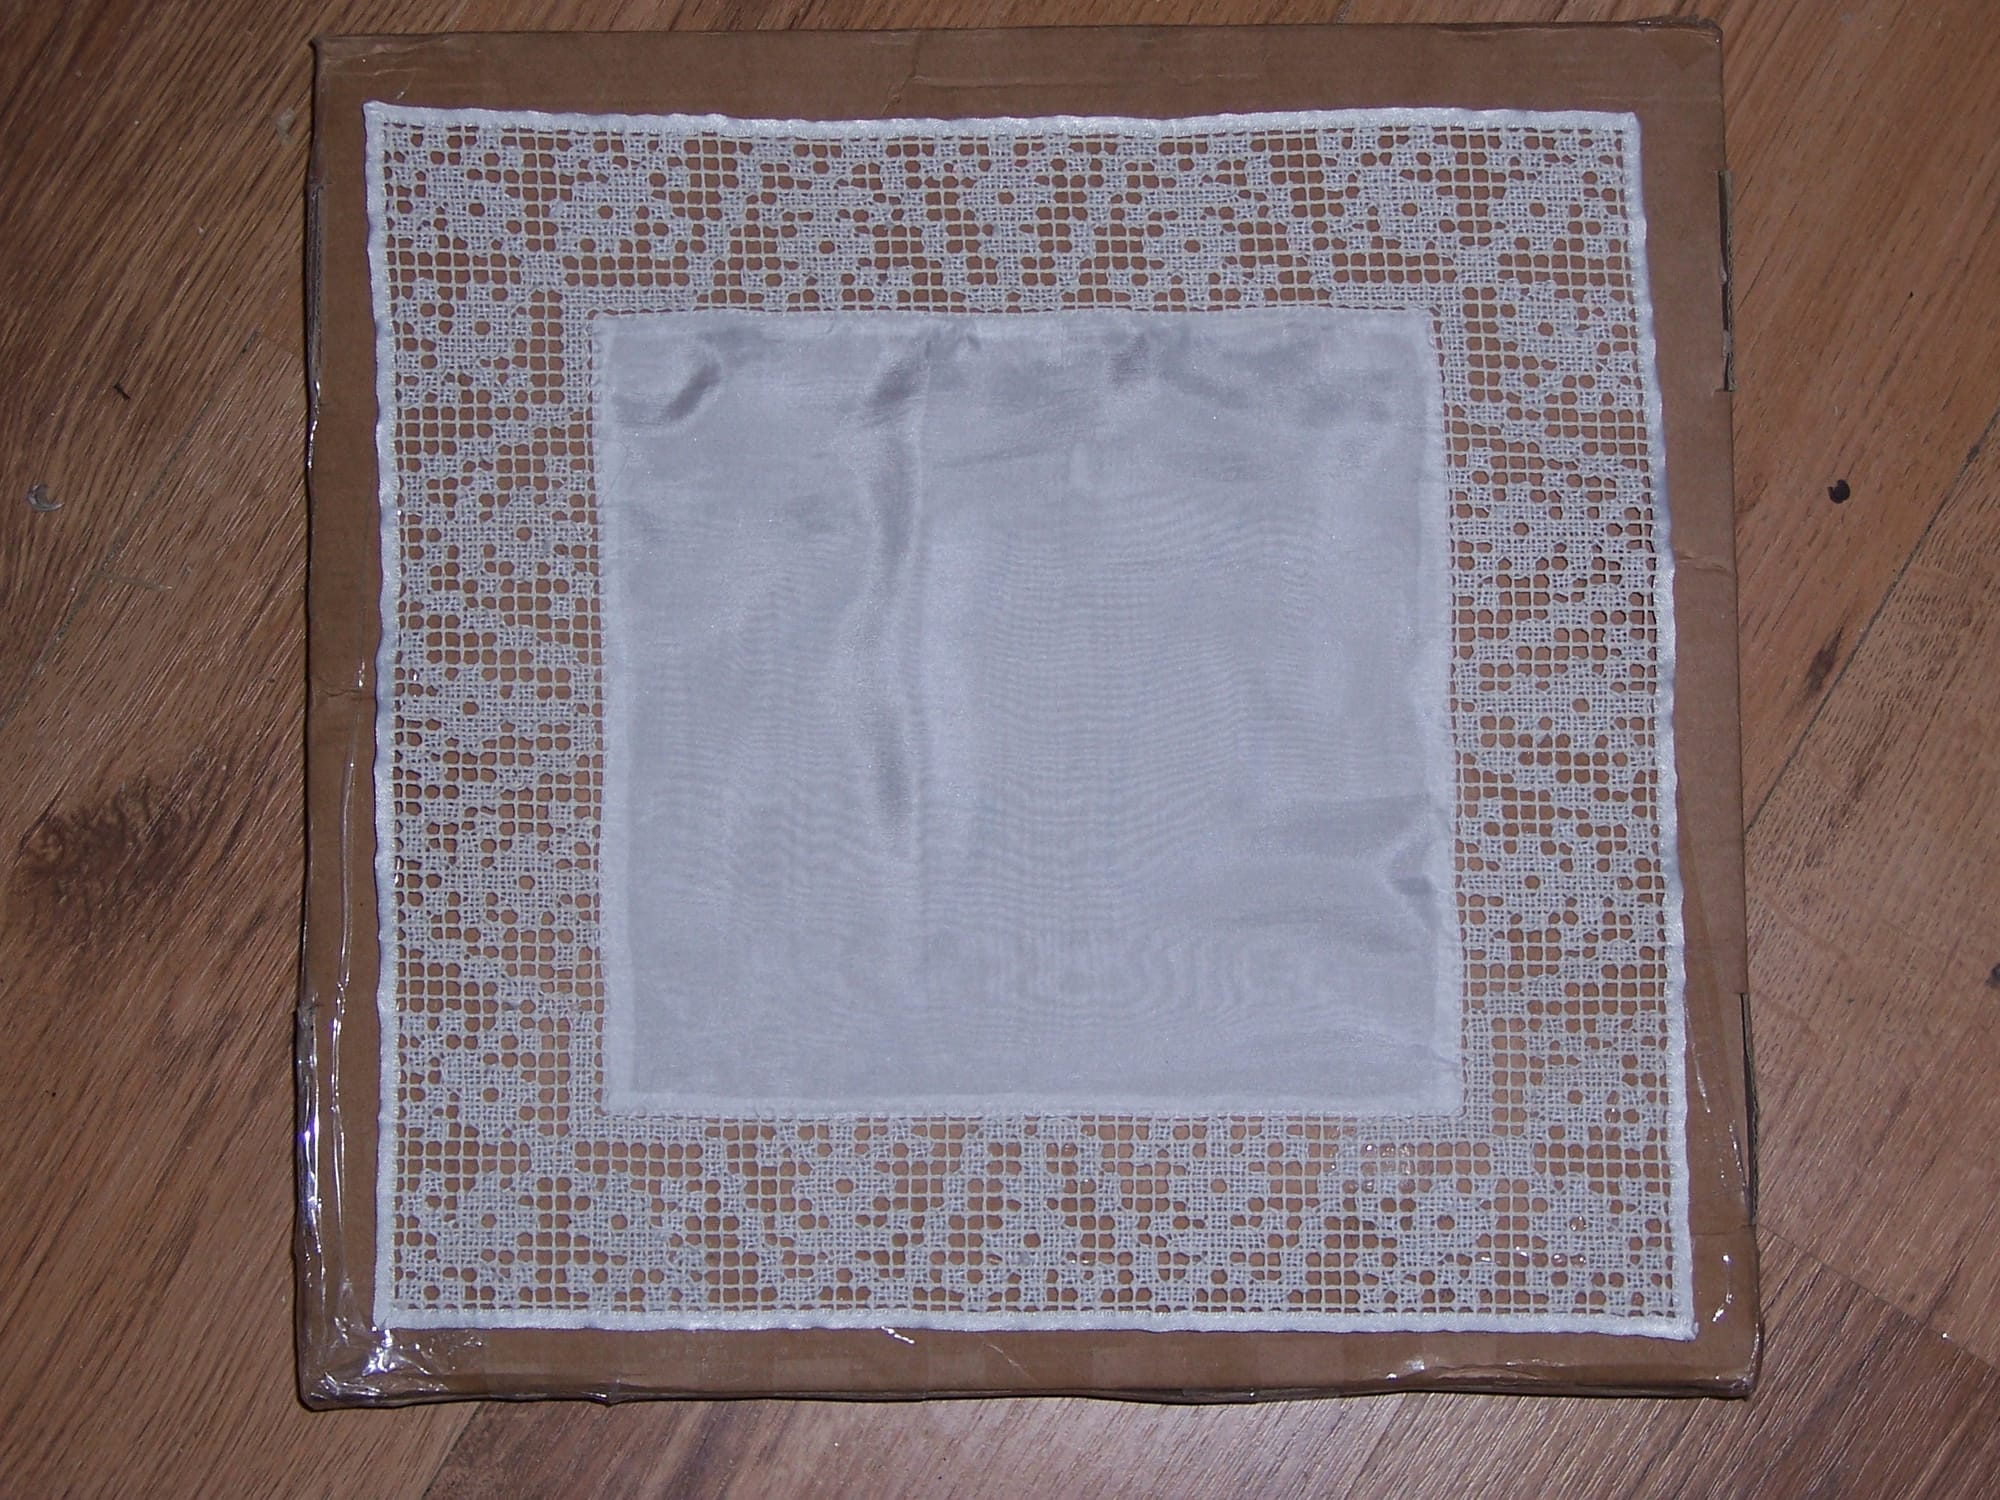
The craft had a revival in Victorian England, and it is still not uncommon to see altar frontals and other ecclesiastical linen adorned with filet embroidery. I believe it is still reasonably popular in Germany and some other places on the Continent, but I am now one of a mere handful of people in England who do it, and even then, not as often as I would really like.
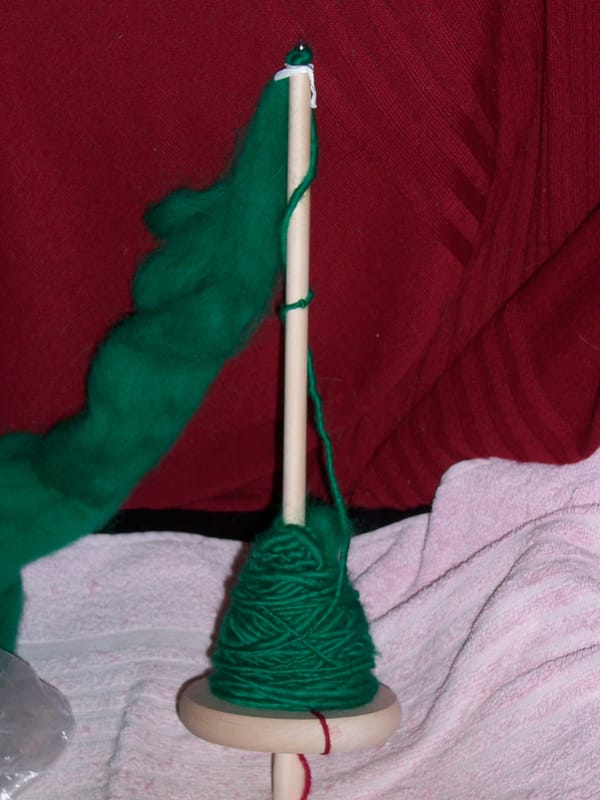
The reason is simple. Traditionally, the filet embroiderer would make their own net; the technique is exactly the same as for a fishing net or a string bag, but on a much finer scale. You need a netting needle, plus a gauge to keep the squares evenly sized. And, while it's not at all hard to improvise a gauge to any size you want, I have never yet found a small enough netting needle. Hence I have never made my own net. All the pieces shown here are worked on samples obtained from a German company; samples, I'm afraid, were all I could afford to order, as the price of the net itself was prohibitive (and likely to be even more so these days due to Brexit costs). I have tried and failed to get suitable square-mesh netting within the UK. Nobody expects anyone to want to work filet these days, so "square" netting is never actually square, just nearly so. Nearly, alas, is not good enough.
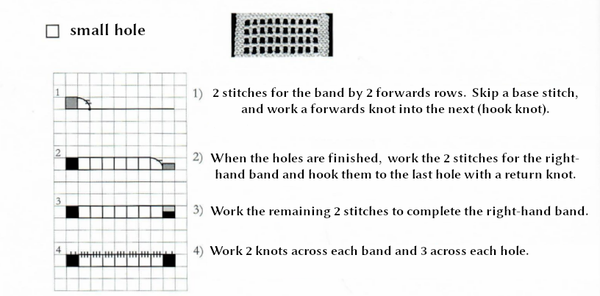
The technique, in itself, is not difficult. The only thing that can cause a problem is working out the path of the thread; once you have been doing this for a while, it is generally straightforward, but it's a good idea for a beginner to trace it out in pencil on a piece of squared paper and then go over it in ink as you work. For instance, if you are working a border like this:
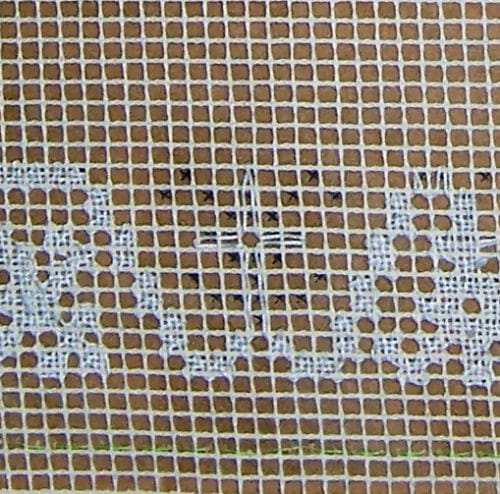
In the course of working the border, some areas are left unworked or partially worked and must be revisited later. (In this photo, you can see how the design is located on the net; I have made little Xs in the squares which are to be embroidered.) At first sight, it appears impossible to revisit these areas without cutting the thread; but look closely at the lower edge of this design compared with the upper edge, and you will see that the lower edge is finished with neat corner loops, while the upper edge is, as yet, not. And this is the secret! In the course of finishing the edges of the design, one eventually revisits partially worked areas like this one and can then finish working them. This photo also clearly shows how to work a hole in the design. The thread goes up the left-hand side of the cruciform shape, hits the hole in the centre, and, since it cannot go through the hole, goes left, then turns back at the end of the left arm; and so on, all the way round the hole. A little thought will reveal that two parallel rows of holes can cause a problem, but there are simple little "cheats" to get round that, so that in effect any design can be worked using one continuous thread (as long as the design itself is continuous, of course).
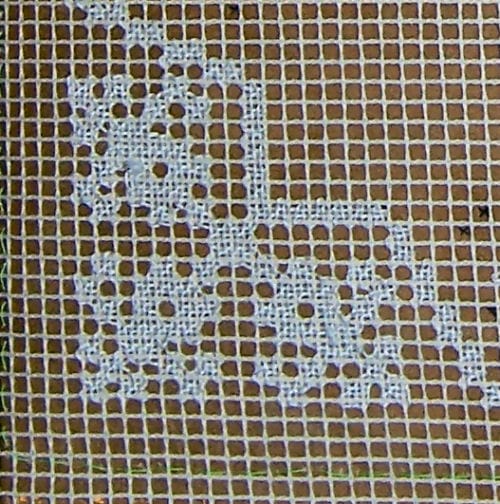
Both the detailed photos above show the work anchored to thin card, which serves two purposes: it prevents the embroidery from pulling out of shape (in the same way as a hoop or embroidery frame, which cannot be used on net without risking distorting it), and it serves as a convenient reference for the design. On this one I have just used Xs to mark the embroidered squares, but on a larger and more complex design I also mark the holes, usually in a different colour and always with a different symbol.
Oh, and in case you were wondering about the home-made chocolates:
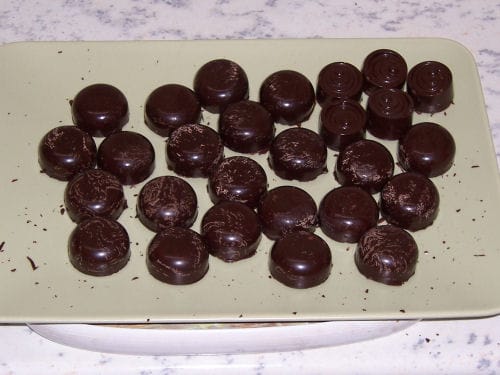
I can't recall what I put in them, but, given that they were for d'Artagnan, quite possibly coffee. He is an extremely caffeinated singer (well, Bach himself wrote a Coffee Cantata, so he is in excellent company there). I made the box to fit a couple of inserts recycled from another chocolate box, and wondered how to decorate it; and, since I'm not much of an artist, a spot of filet seemed to be a sensible answer.
I have no idea what happened to the handkerchief.