On the fringe
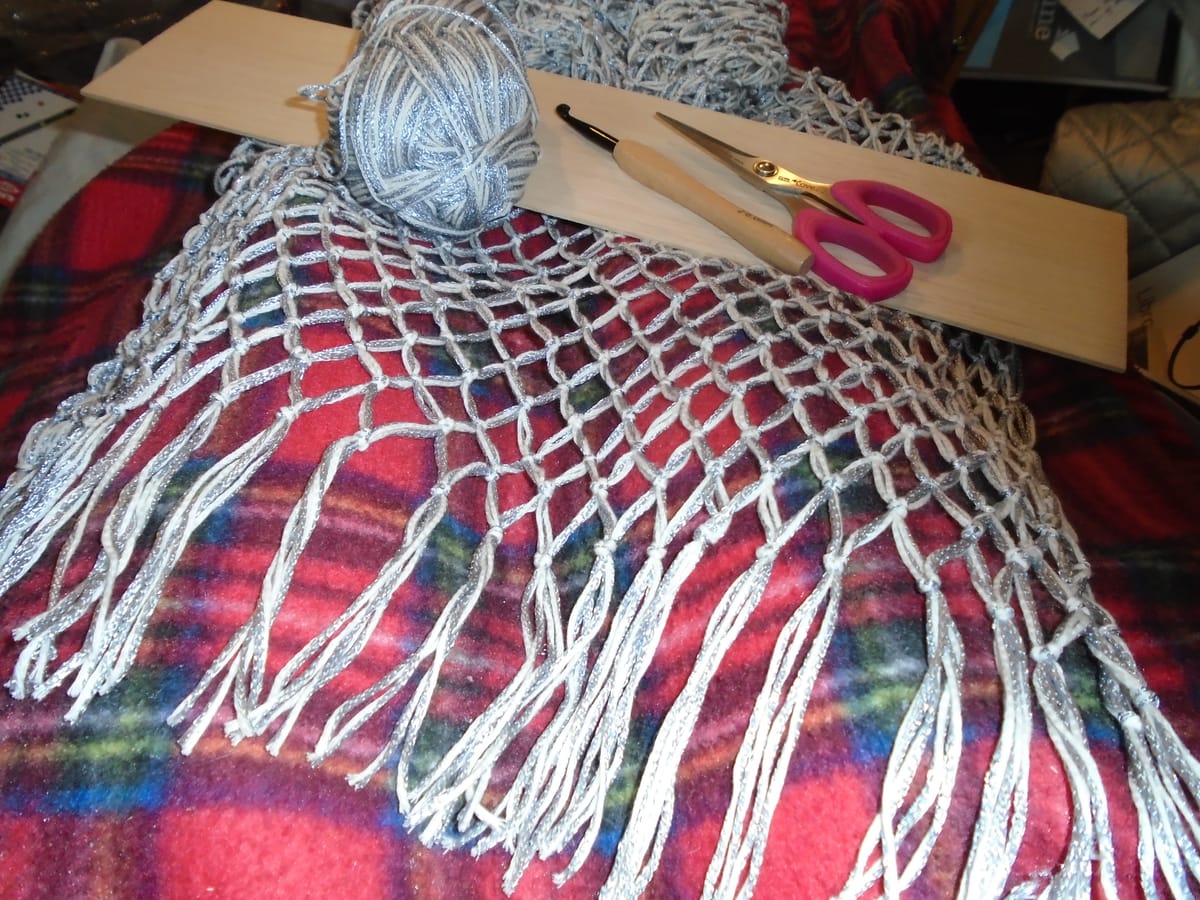
I have entirely too many craft projects on at the moment, so I'm having a bit of a drive to clear the decks; and yesterday I finished the net stole, the one I showed you on the headrope a little while ago. Something like a stole is an interesting thing to net, because it's going to end up a lot longer than your frame (mine is, in fact, about twice the length), so you can't keep it anchored to the same point. So you do this. Having started on the headrope, and then taken your headrope out and just threaded it through the top row of meshes to turn it into a hanging loop, every so often you unthread it and then re-thread it through another row of meshes lower down. This requires a little bit of care at first to keep the top of your work out of the way of the part you're meshing into (I was aiming for a straight piece, not a loop, and certainly not an accidental partial loop!); but it doesn't take long before the top end is long enough to drape over the far end of your frame, well out of the way.
And then I finished it off with a nice fringe. Given my tendency to have useful (often unexpectedly useful) stuff around the flat, you will not be at all surprised to hear that I have a flat piece of balsa wood exactly 10 cm wide. I've got a few of them, in fact - bought them for building roleplaying props before the baby happened and completely derailed our D&D sessions. (Can't fault him for that. He doesn't even know what D&D is yet; however, he's going to be three in April and he's extremely bright, so I suspect he will pretty soon!) So I just wrapped the yarn round this piece of balsa wood and cut along the edge; for accuracy (and one's sanity) it is best not to do this too many times in one go. I had 25 meshes along each edge. The first lot of turns I didn't count and they took me about two thirds of the way along one of the edges, so I did it again not counting, and then I counted the number of meshes left so I knew how many times to wrap. At which point, once again, I gave hearty thanks that I'd bought that set of crochet hooks, because the largest member of the set made it a great deal easier to attach the fringe loops. So now I have a handy stole that used only a little over 100 g of yarn, and might, as a bonus, also work as a piece of stage costume; I haven't quite decided yet what I'm going to do with the Duchess.
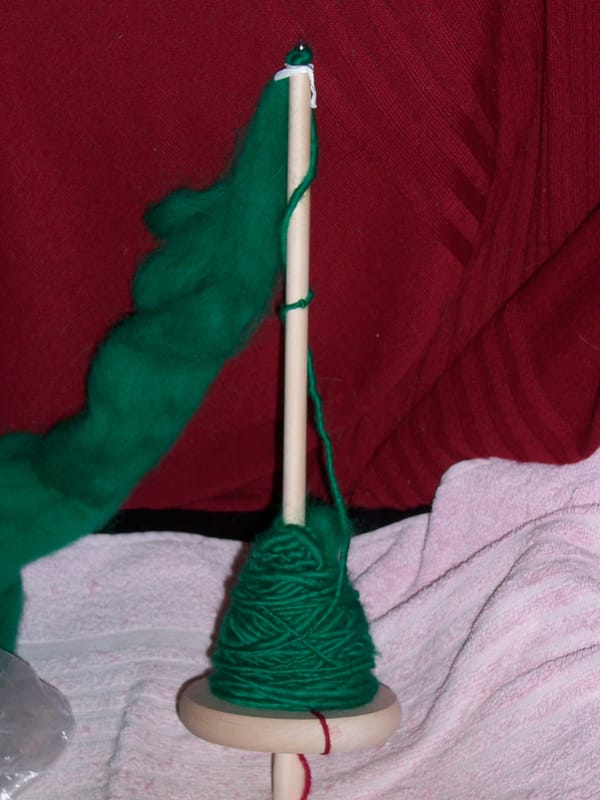
Meanwhile, this is where we are with the new lucet:
It is really not as quick as I remember, though I should speed up as I go on. And, as you see, the cord isn't entirely even just at the moment... which is why it's a good idea to make a practice piece like this one even if you've done it before. I hadn't picked up a lucet for quite a few years, certainly since before I was ill, and there is a knack to it. It's all very well telling people that the technique is exactly like one of those French knitting dollies; that's true, and I still do tell people that, but I have to qualify it a little. With a French knitting dolly, you don't particularly have to worry about the tension. That sorts itself out easily enough, because while you're hooking the yarn over one of the... let's call them "projections", since they vary a good deal according to the model... it's held firmly in place by the other three.
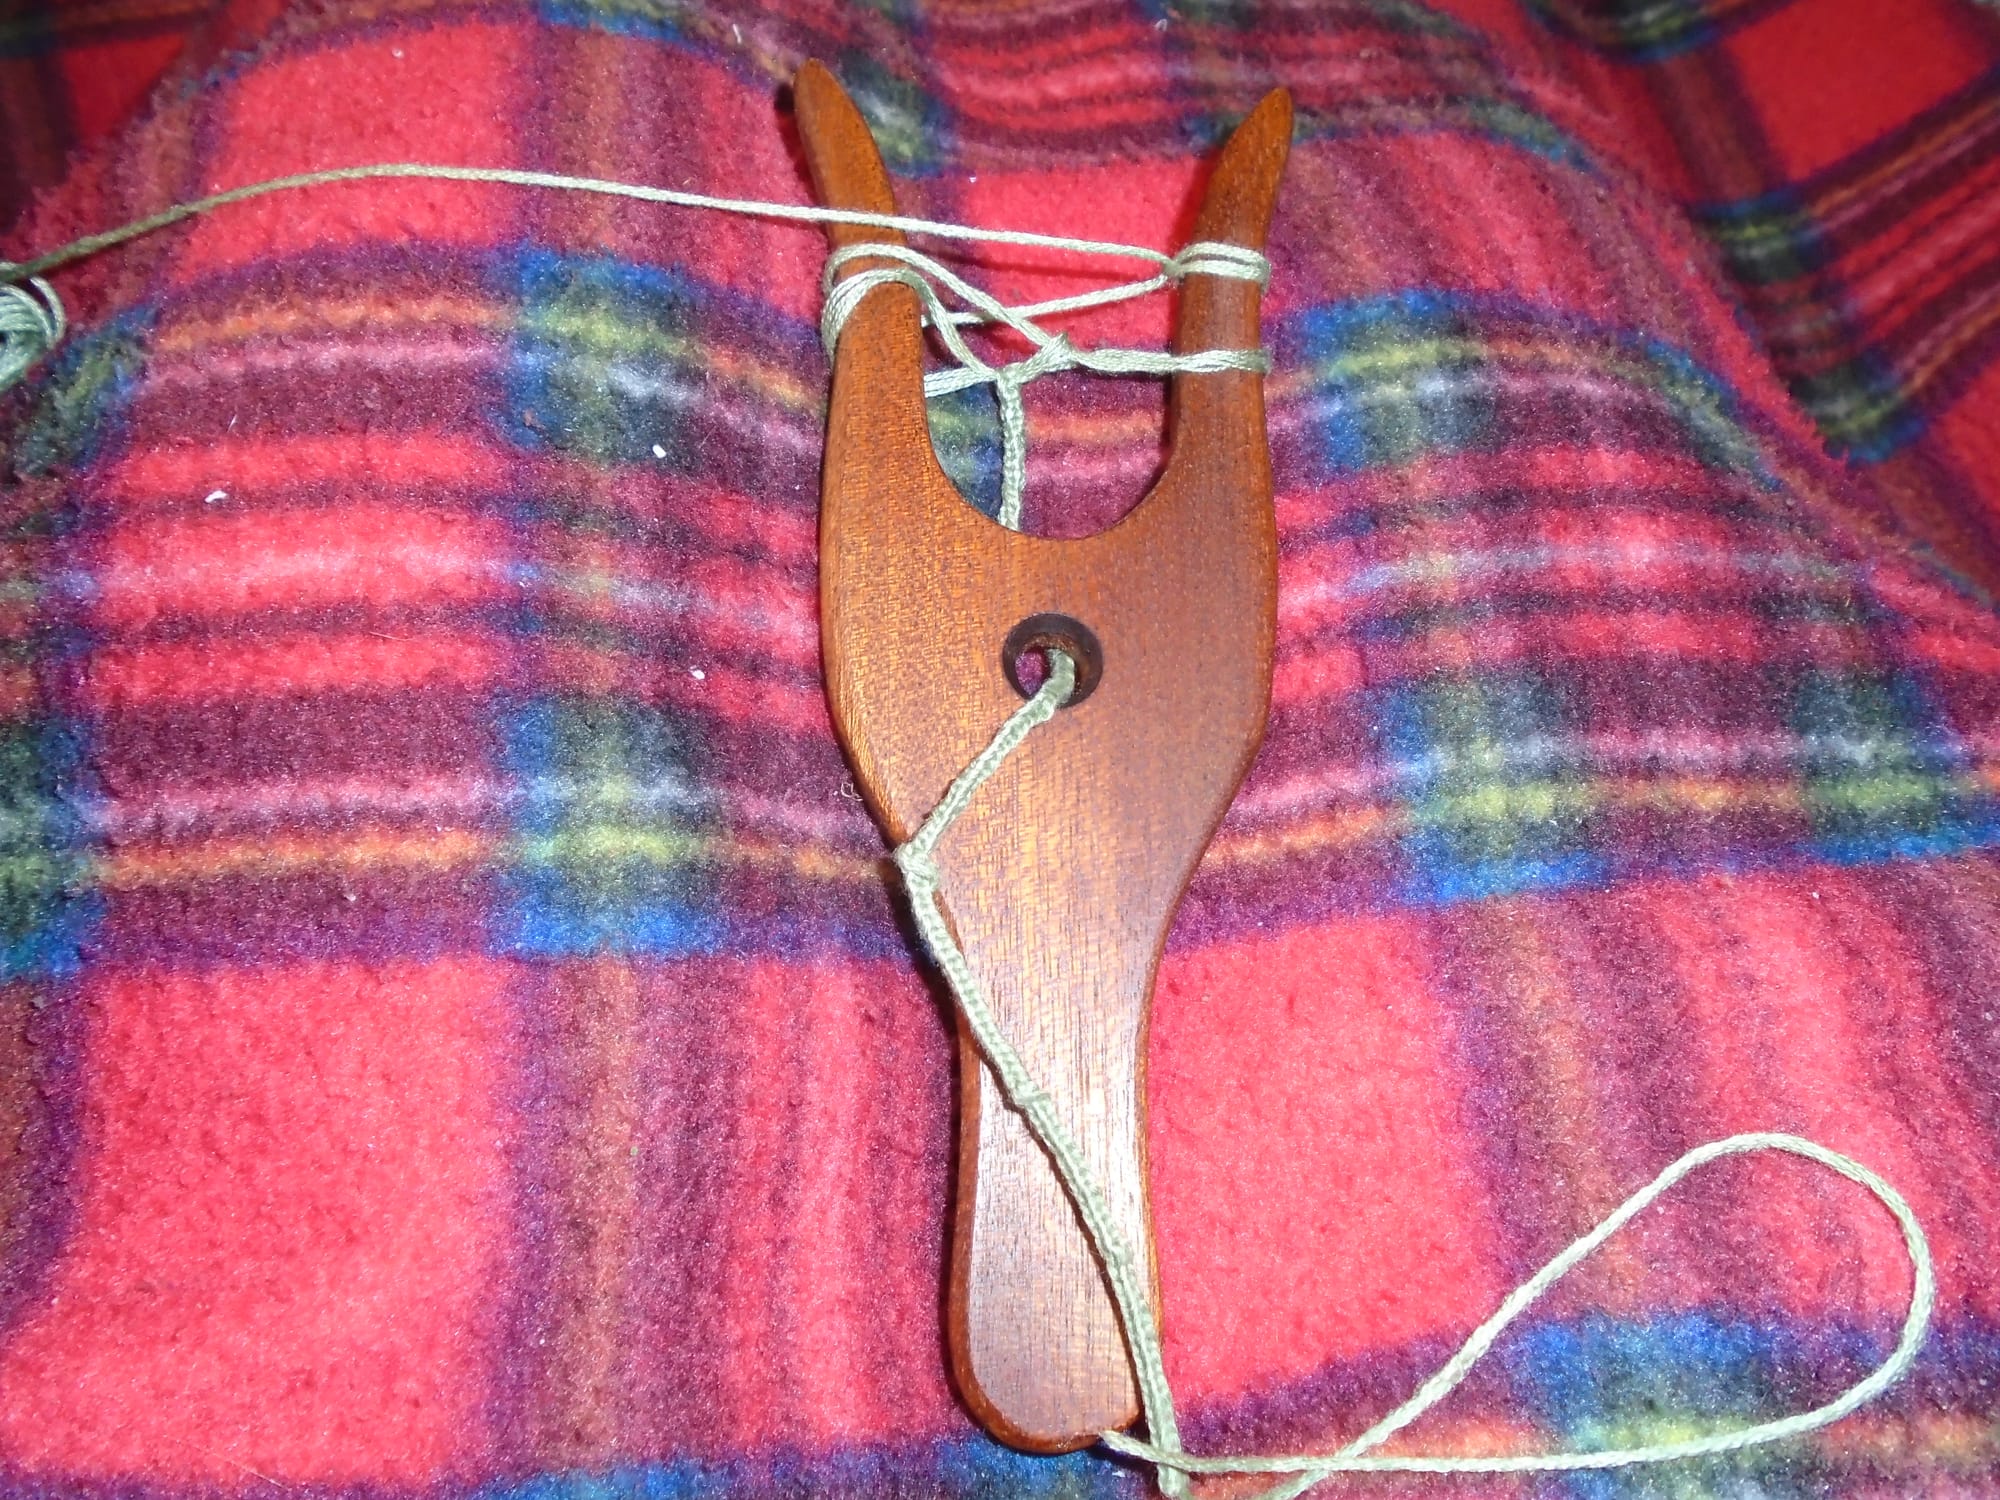
A lucet, however, is different. The two golden rules for a lucet are "try to keep the cord in the middle as much as possible" and "don't pull too tight on your first pass". These rules are especially important if you've got one like this, with the flared tines; they're still important even if you haven't, but they're not quite so absolutely crucial because you have a little more wiggle room. However, on a flared lucet, if you get it too tight you will have the very dickens of a job to pull the loop over the tine, and then the cord will scrunch up at that point, as you see it's done a few times in the picture.
Anyway, I reckon I know what I'm doing again now; and our church is doing an Easter crafts session in the community, so I've offered to teach lucet, but I haven't heard any more on that so I don't know if I'll actually be doing it. I would rather have offered to teach netting - more fun, and even cheaper - but I didn't because I was concerned about anchor points. Our community centre has a lot of stacking polypropylene chairs and folding tables, but what it does not have is anywhere convenient for a number of people to anchor their netting. What I'd ideally like is one of those clothes rails on wheels, which I could perhaps borrow from a dress shop... if there were any shops at all in this one-horse town. (I have not personally seen the horse in question. I have, however, frequently had to dodge the evidence.)
Other than that, I should (with reasonable luck) finish both the current baby hat and the next string bag either today or tomorrow; the socks are going very nicely, and you'll probably get another post (or part of a post) about them once I turn the heels; and the Southbank-in-progress is sitting looking at me quietly but accusingly. I will get back to it. I promise. In any case it's off-white, which is such a useful colour!