For science!
I may have mentioned recently that I've got too big for my going-out bras; and there are some people on the Discord crafts server I'm on who are interested in bra-making. So it suddenly occurred to me that, now I had a couple of officially dead bras, it would be both instructive and fun to do a bit of dissection on one of them for the benefit of those who were thinking of making their own. (I am, however, going to add a word of warning here. This bra is underwired. I've had someone tell me very confidently that you don't need the underwire, and that is true in that it is perfectly possible to make a good supportive non-wired bra - indeed, I'm wearing one; but the structure will be quite different, and in particular you will need a lot more seams. So, unless you don't need that much support, please don't try to translate anything you see here into a non-wired bra or bralette. You'll be able to get it to fit, but it won't do a very impressive job.)
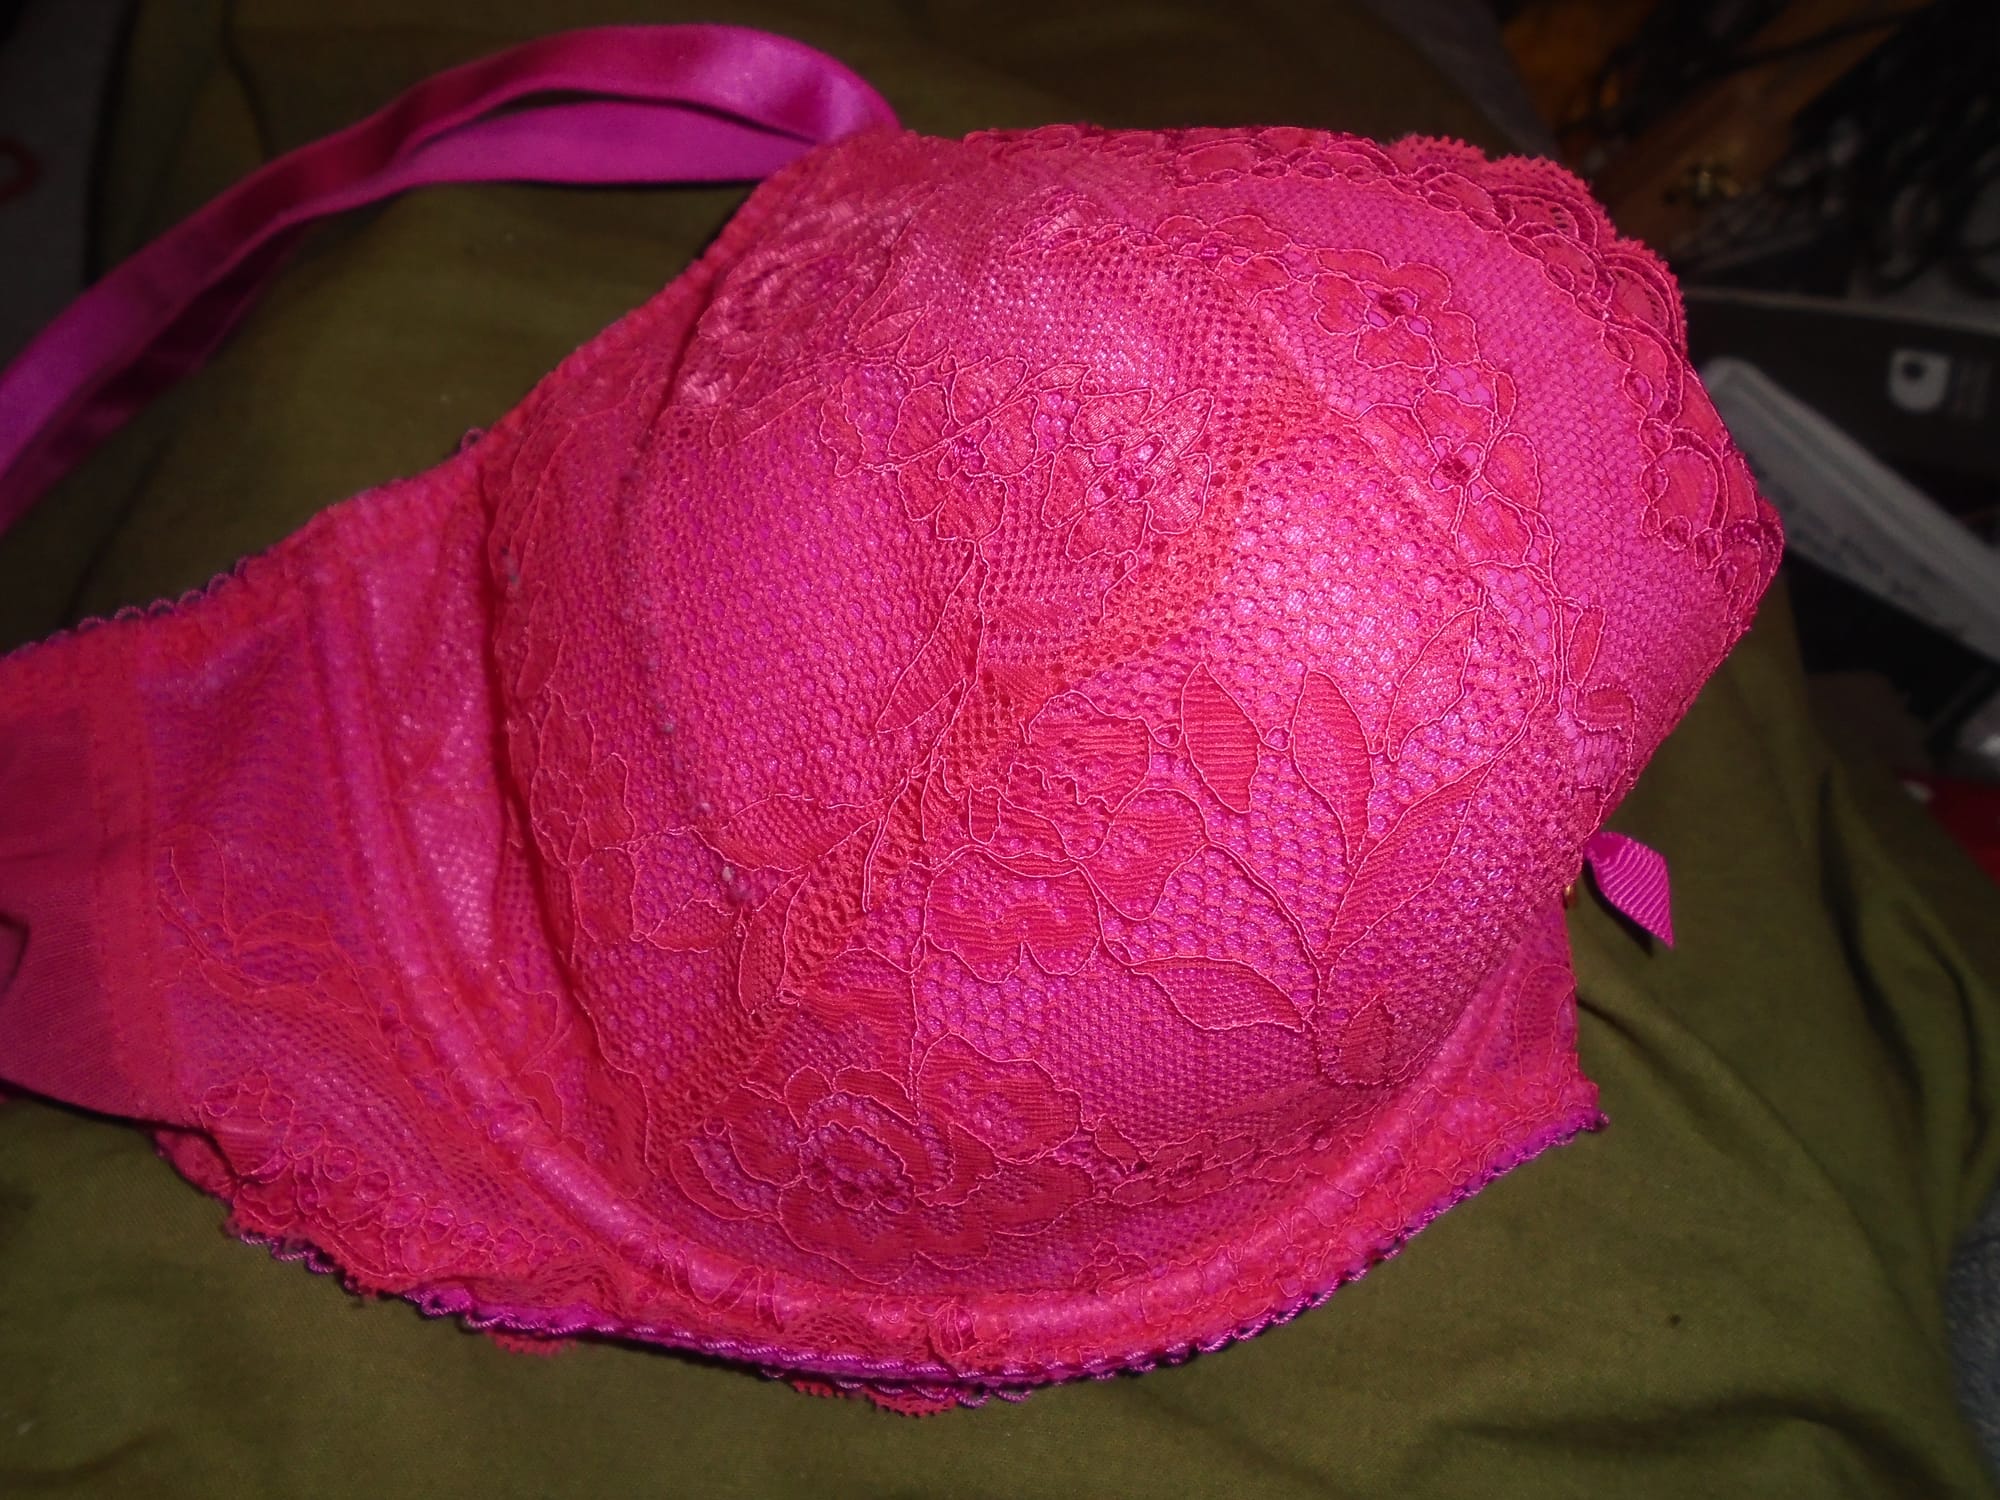
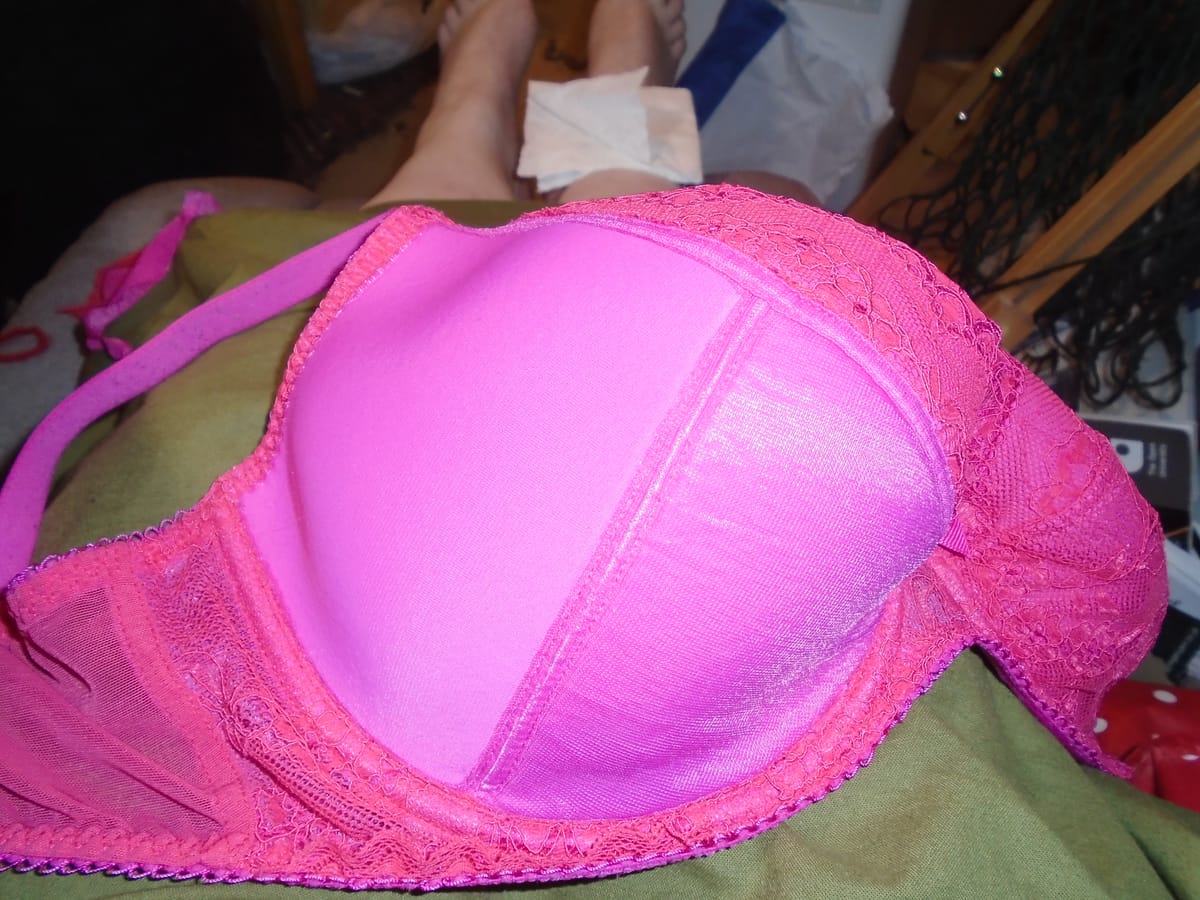
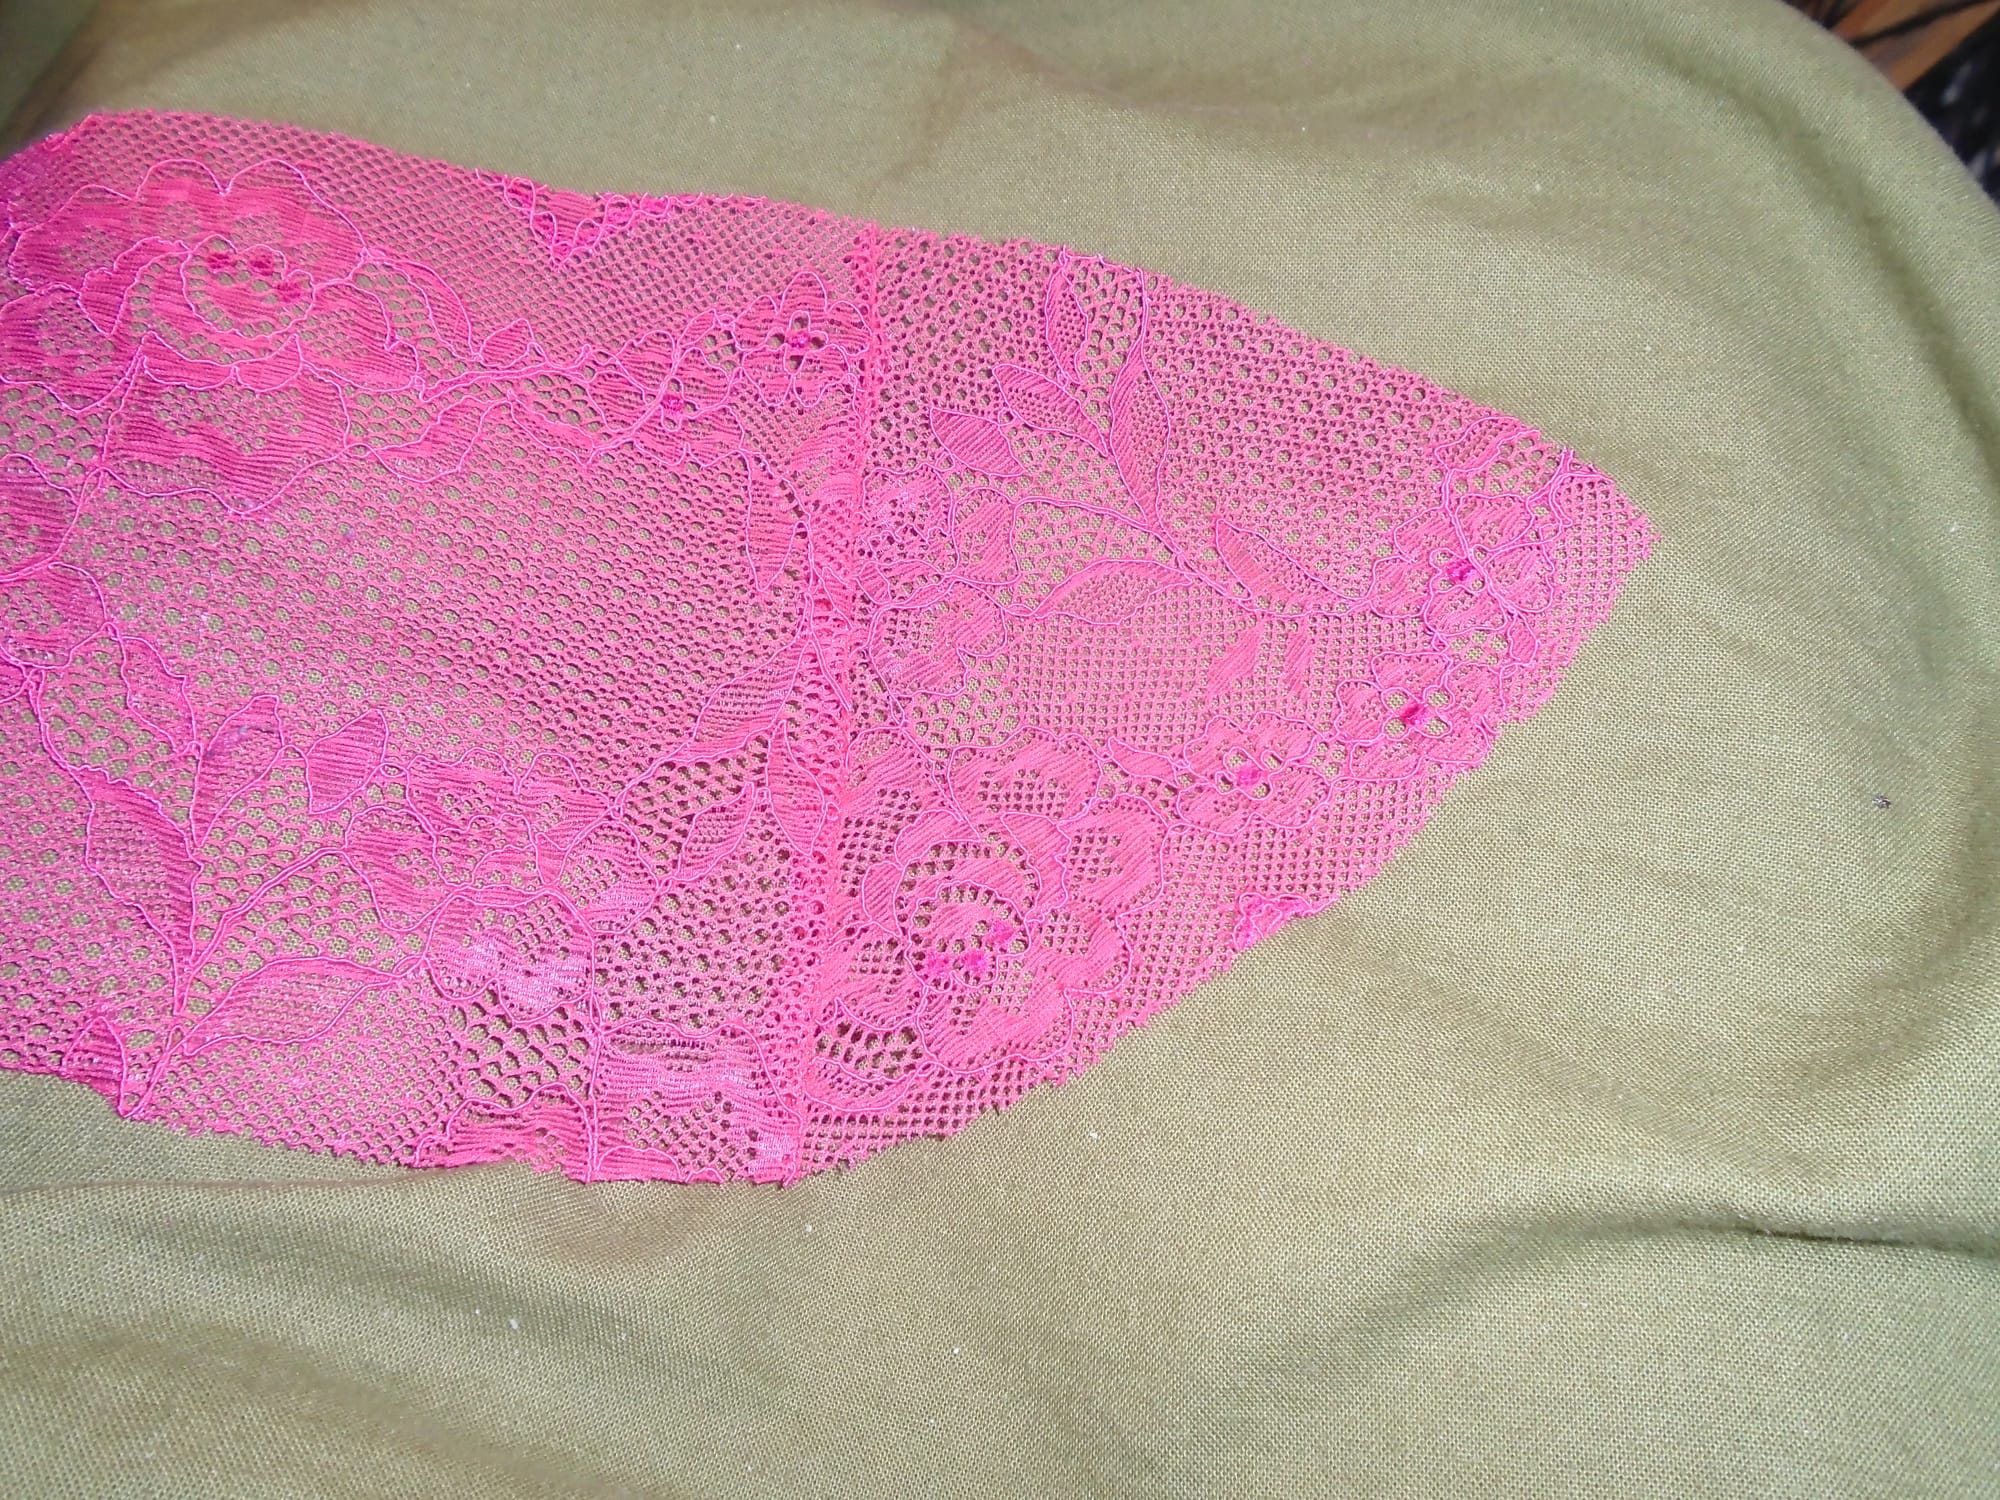
First of all, let’s look at the finished bra. On the outside there’s a floral lace with a bit of stretch (though the stretch doesn’t really matter all that much, as it is not used anywhere), which covers the cups, the inverted V between them, and a little way out into the wings. These front and wing pieces are backed up with a rigid mesh to prevent any stretching. The lace on the cups has a simple three-piece structure which is echoed on the inside of the bra; there is one long seam going from near the strap to about the centre of the bra, and then one shorter seam, not quite at right angles to the long seam, which joins the two main cup panels. The rest of the wings are made from power mesh edged with lingerie elastic, and the elastic on the side that connects to the back end of the strap is the same as is used for the strap itself (so the straps are both elastic and adjustable, which is a useful combination).
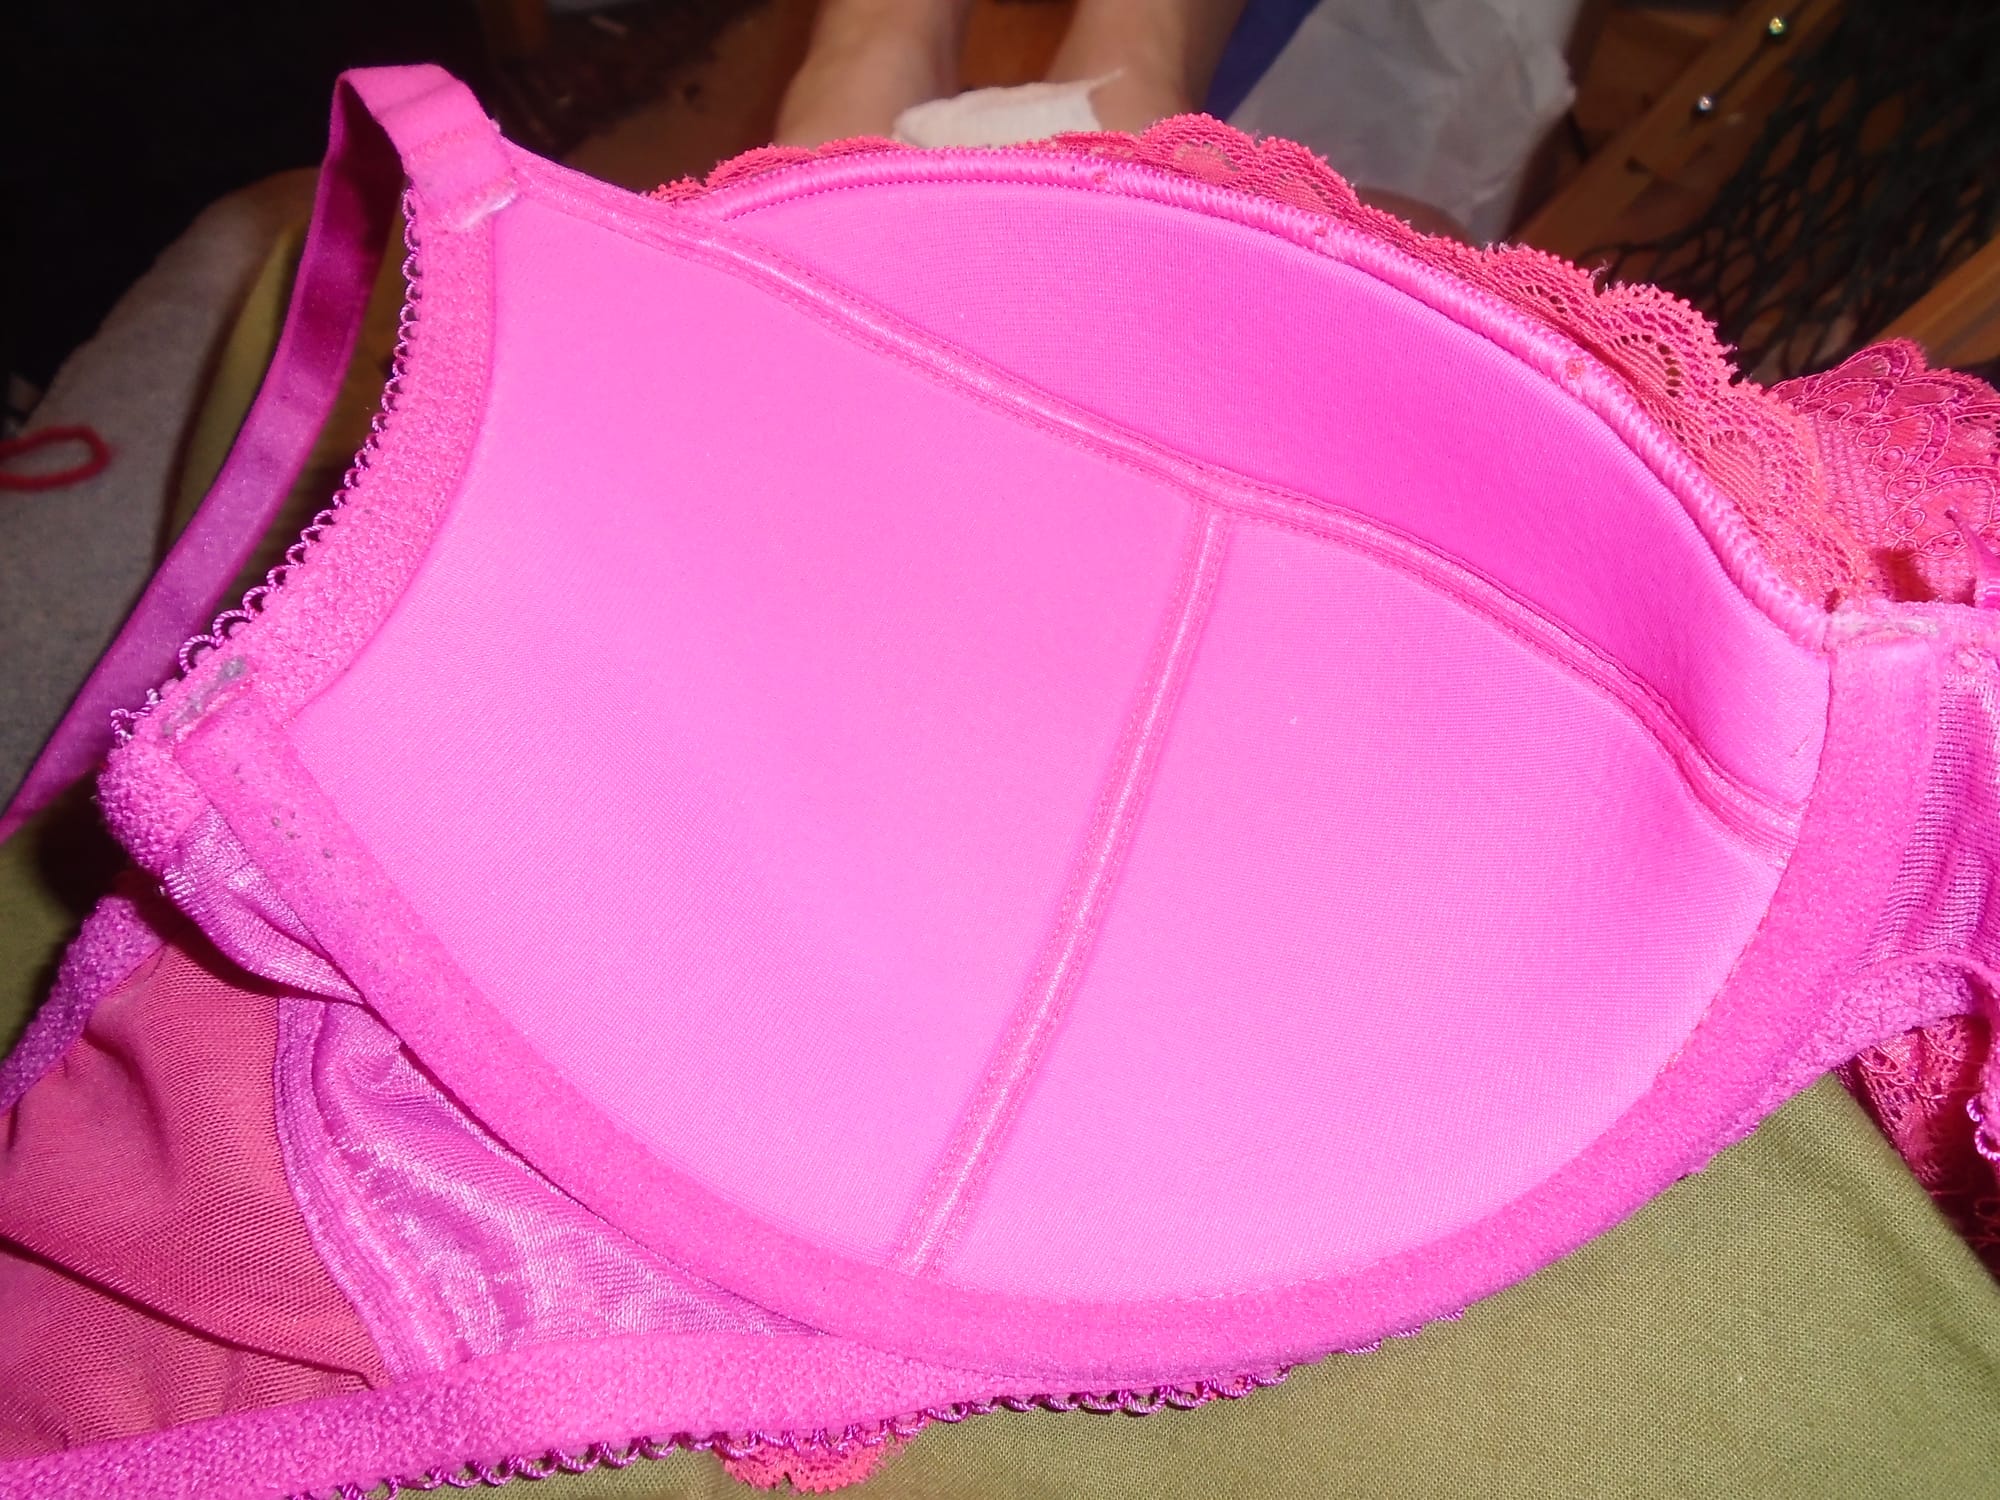
The inside of the cups is made from a smooth ultrafine synthetic jersey (so fine that you have to look very hard to see that it is a knitted fabric) with a very light layer of padding which seems to be integral to the fabric (further investigation proved that it is). The seams are firmly taped for comfort.
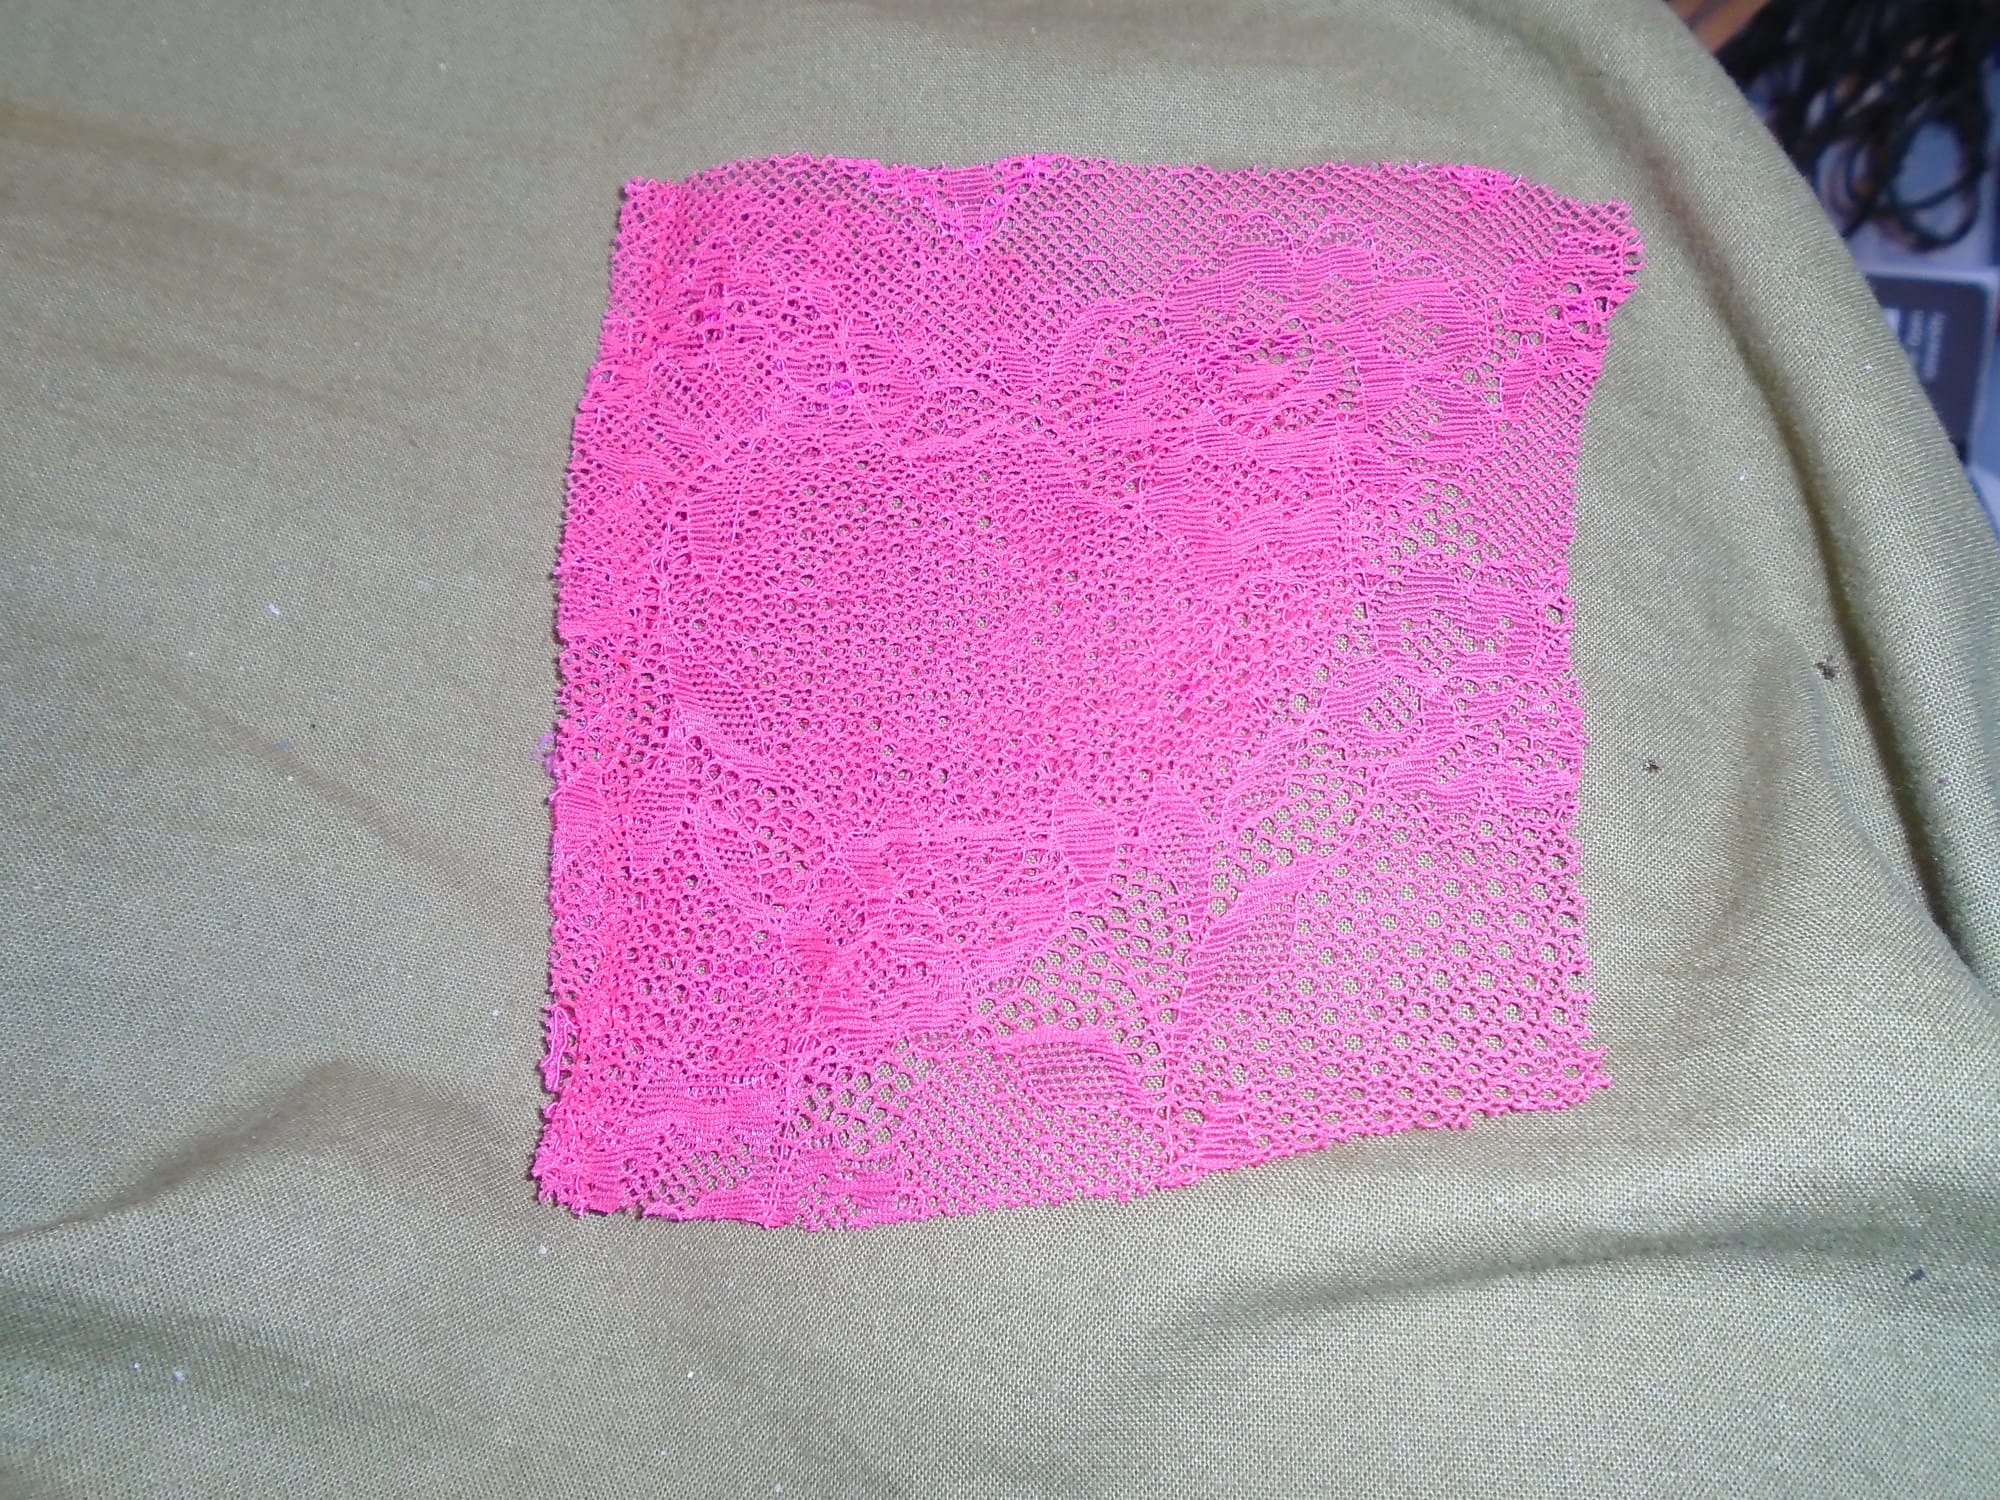
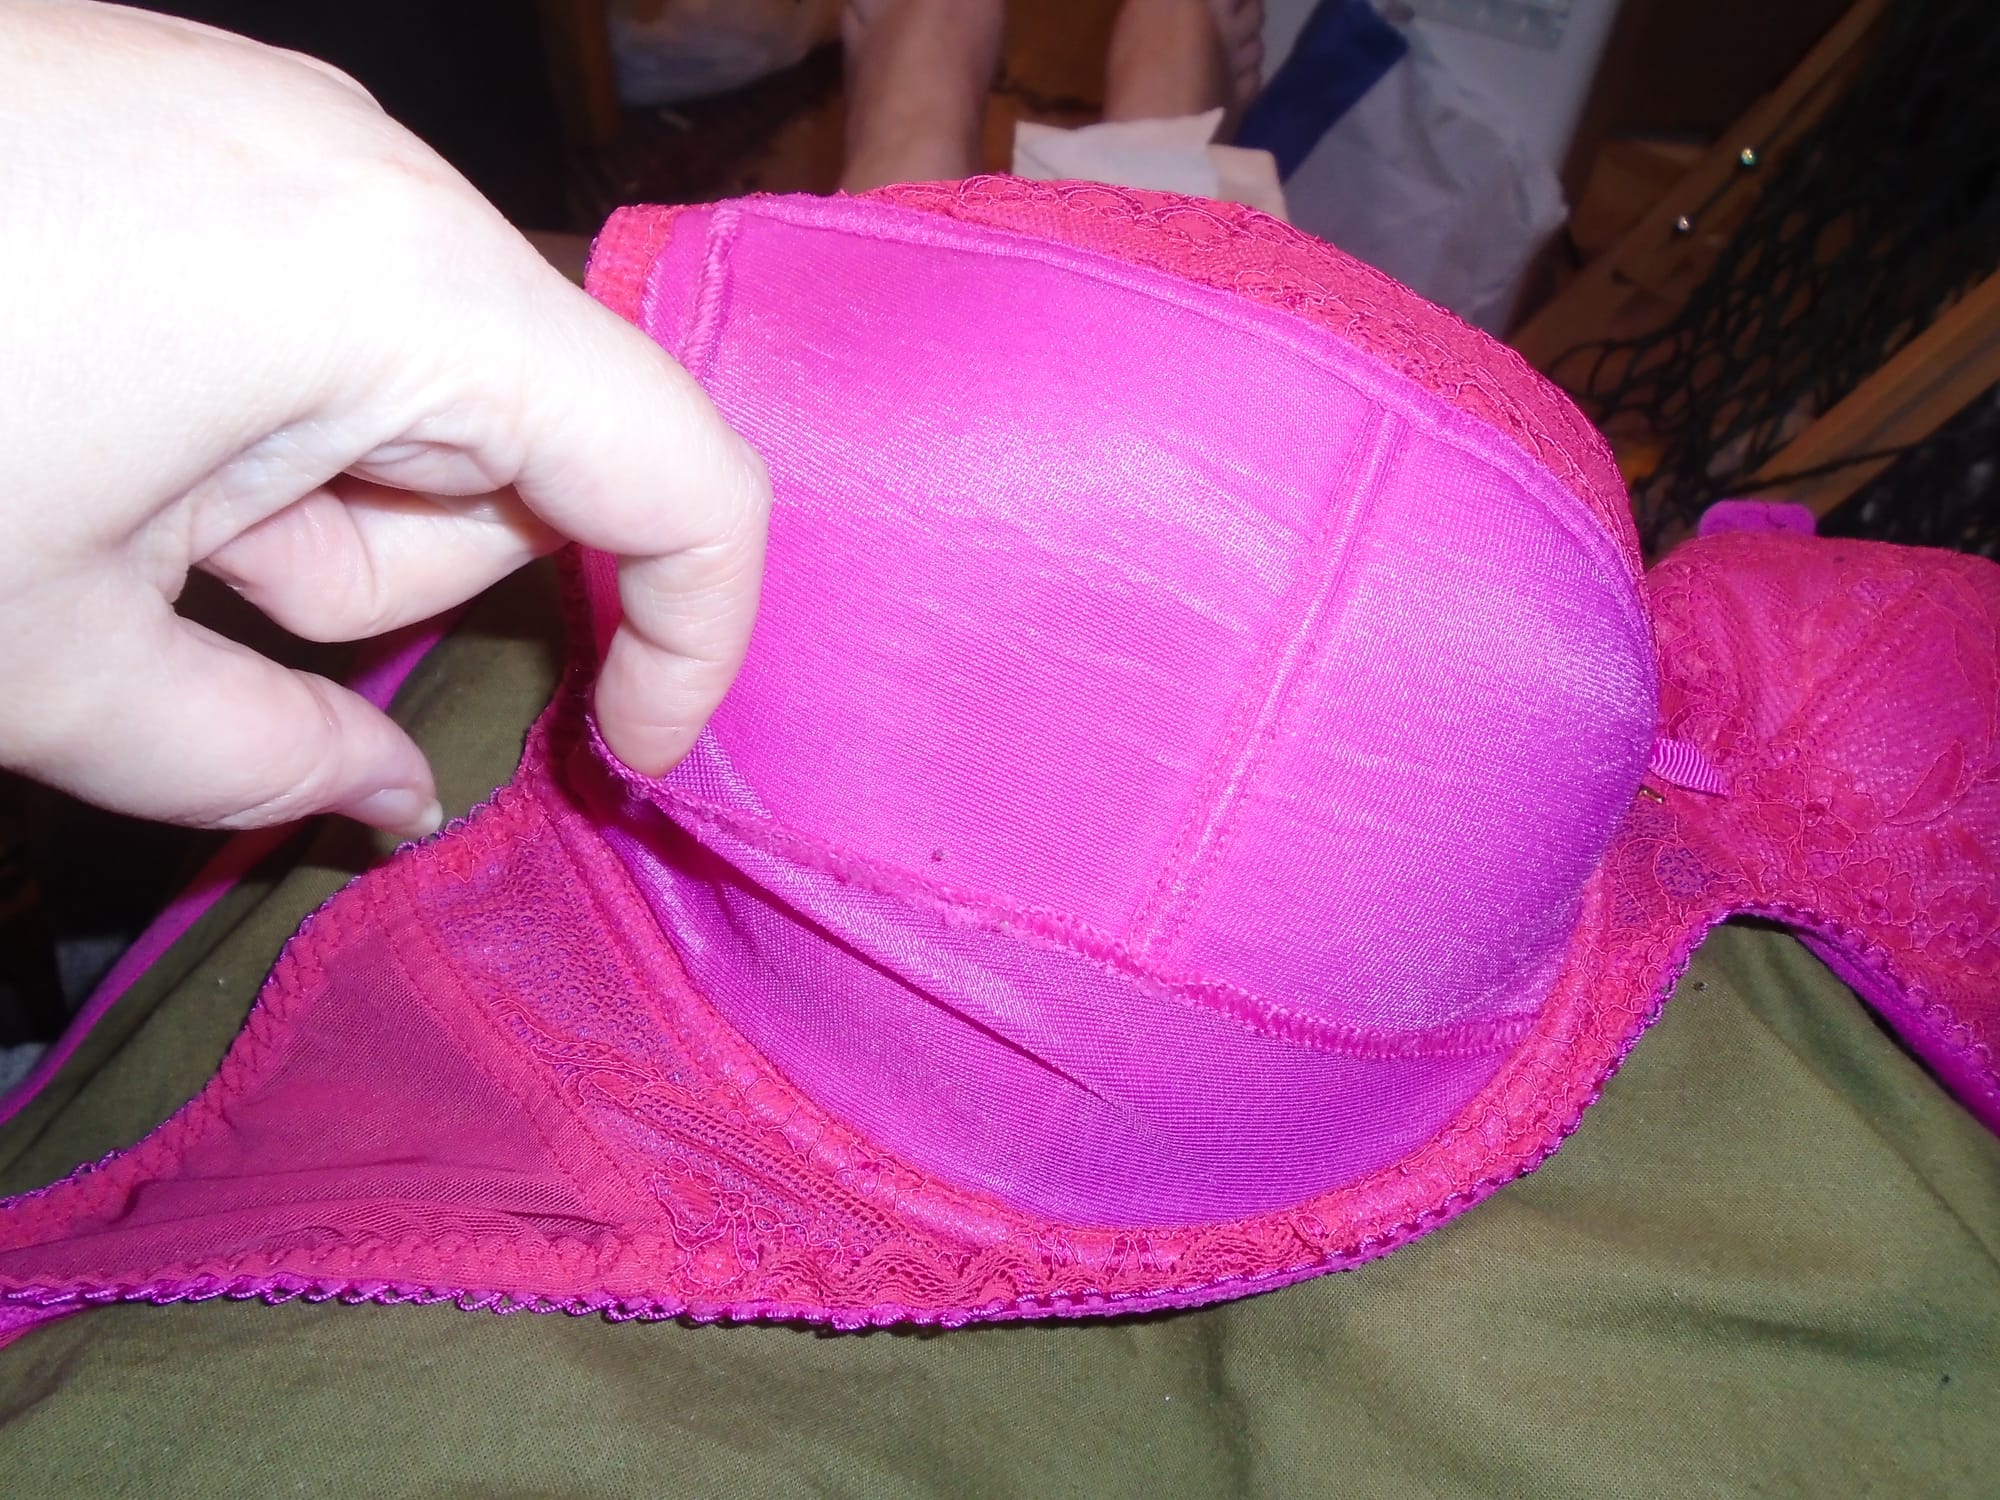
The first step is to snip off the lace covering the main part of one cup; the bit at the top is sewn on with the fabric below it. This first of all demonstrates that the short seam on the cup is almost totally straight, which surprised me a bit. The upper panel is roughly square:
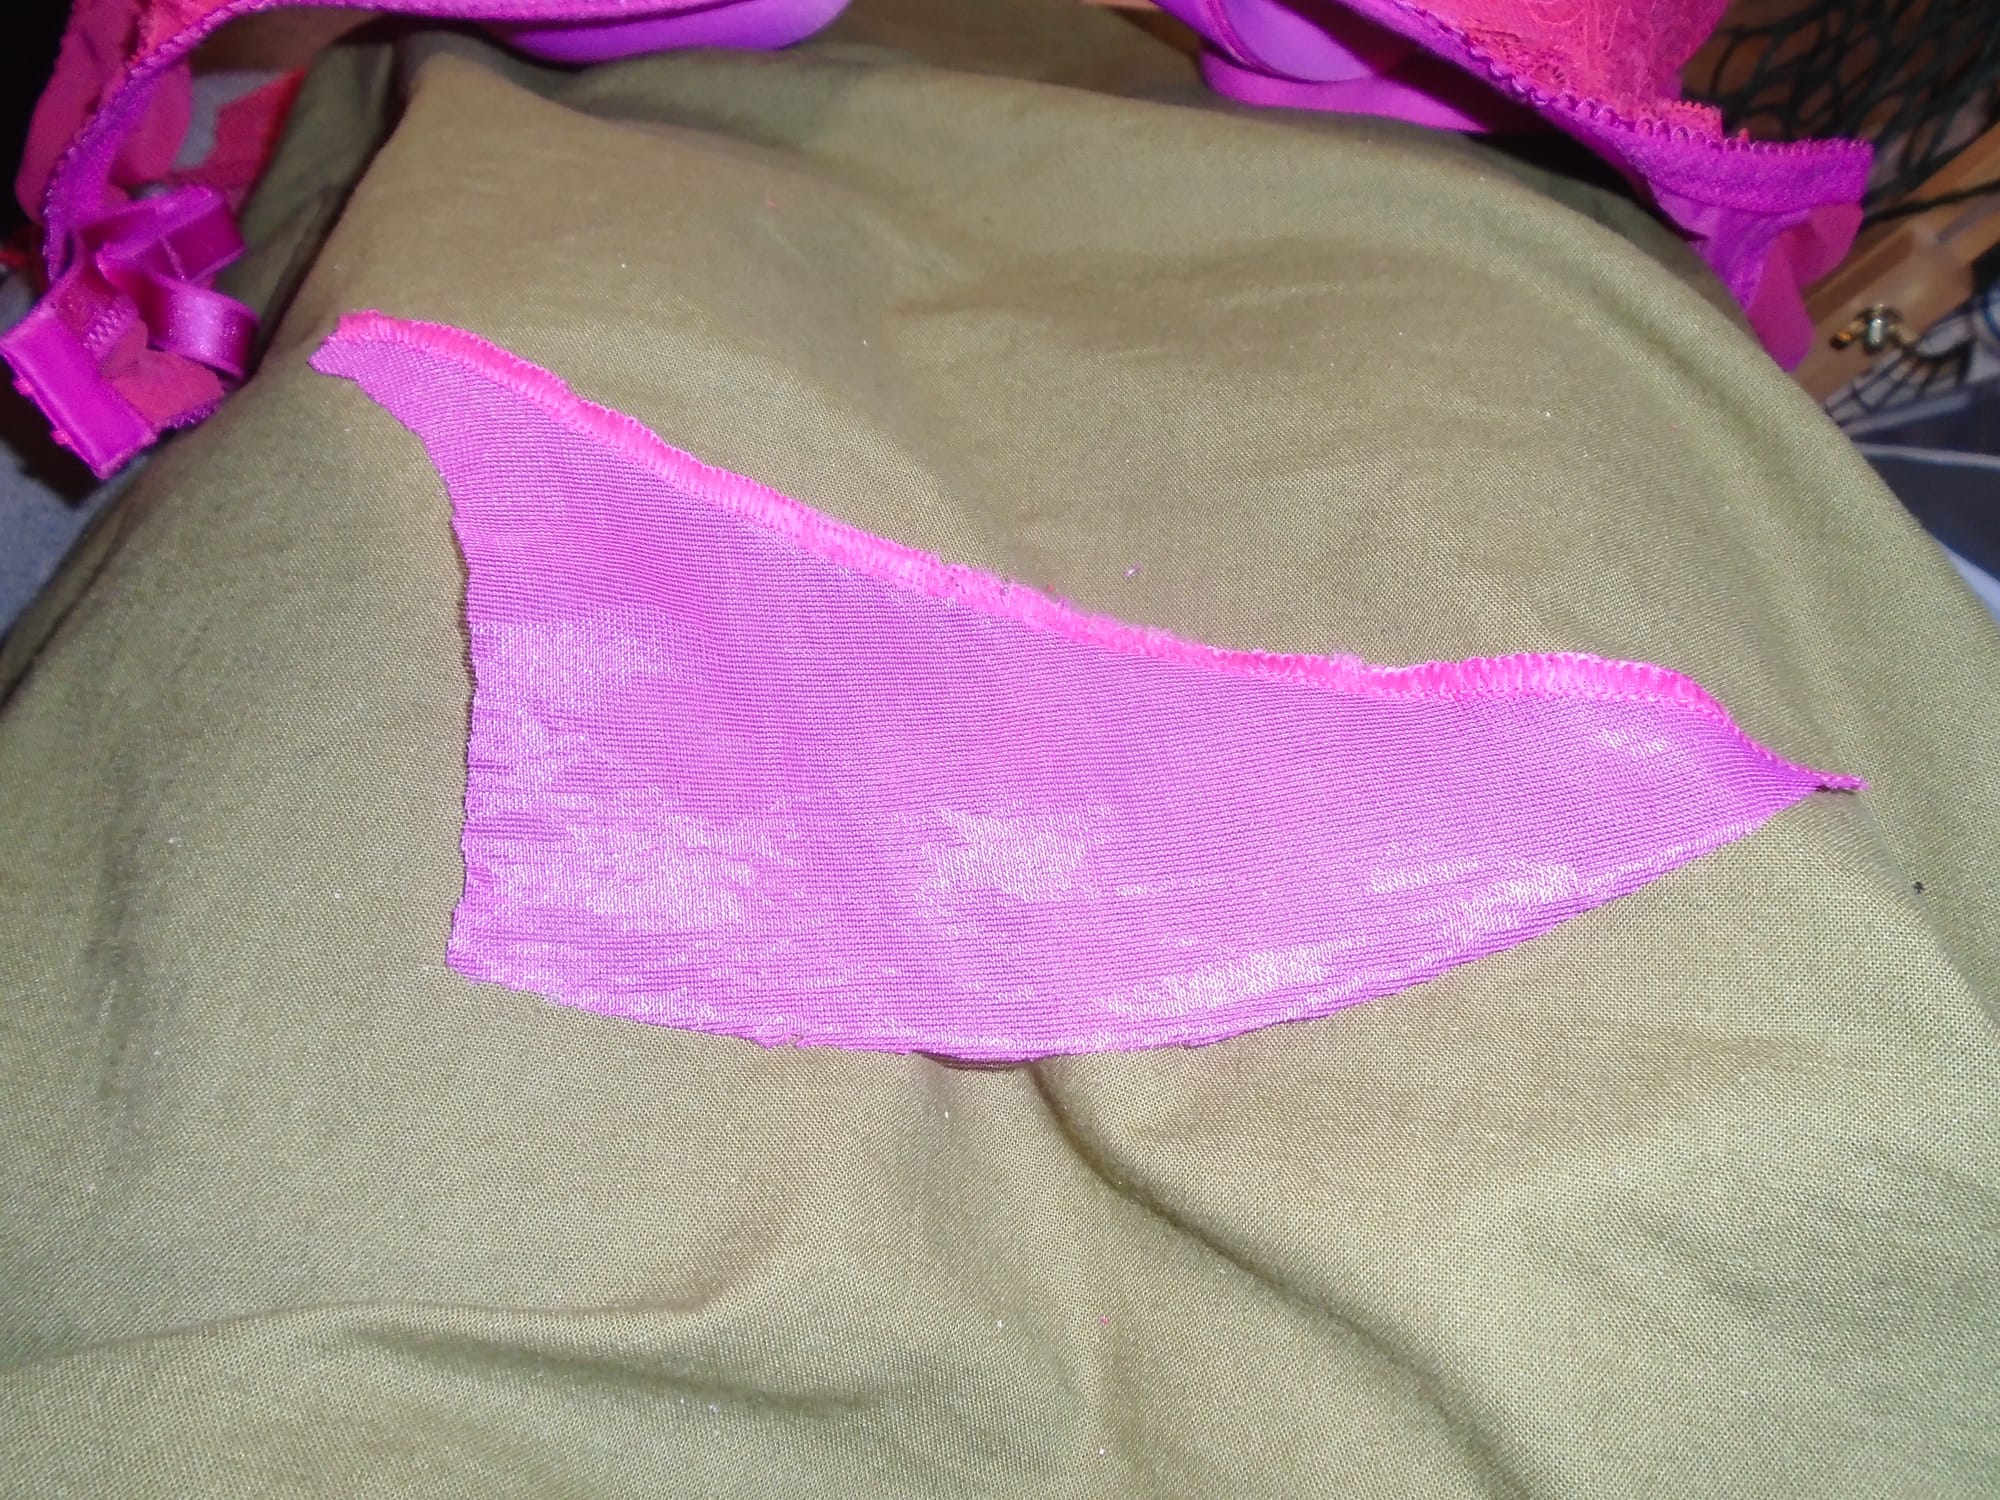
and the lower panel is roughly triangular:
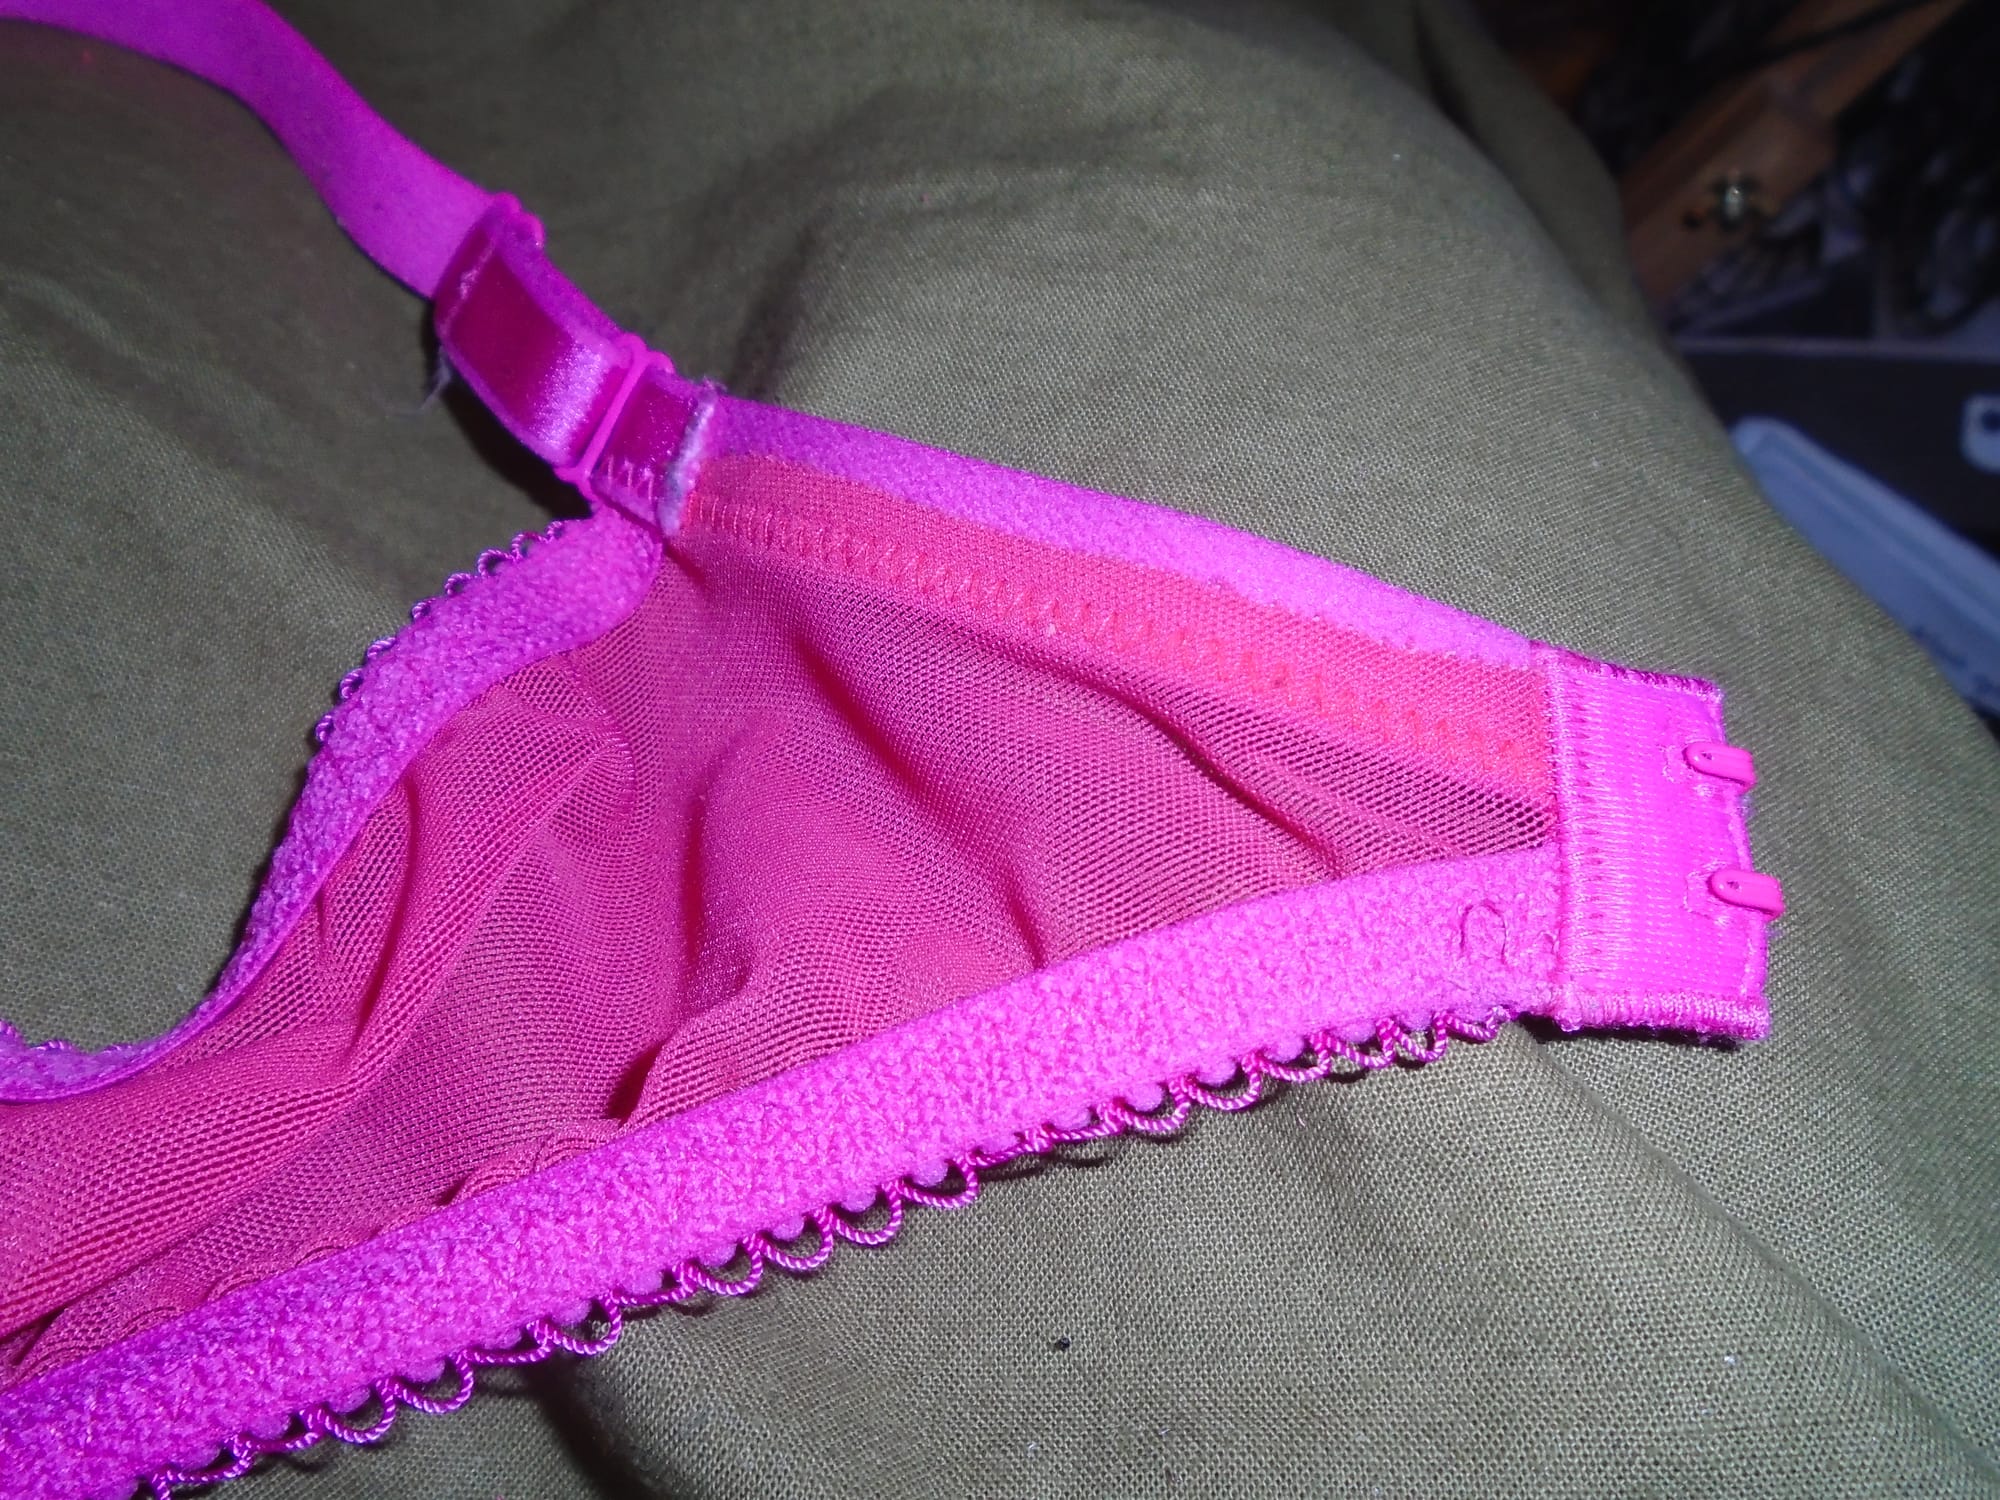
Now here’s another surprise. There is a loose flap of rigid mesh which is stitched at the underwire and the side of the cup, but isn’t fastened to anything along the top edge. (It doesn’t really need to be, as the lace holds it firmly in place.) I imagine this is for additional support – it’s a bit like a sling.
Let’s remove it and have a look at the shape of the piece when it’s flattened out:
I’m interested to see that the loose edge is another straight line. There are fewer curves in this bra than you’d think. Underneath it we have another layer of the same rigid mesh, but this is again sewn together with the fabric below it, so this time I’m just going to remove the upper panel (see feature photo).
Now we’ve hit the back of the fine lightly padded jersey, and once all the other layers are off it, it’s possible to discover that it has a bit of stretch (hence all that rigid mesh). You can’t see the grain of the fabric in the photo, but it is perpendicular to the seam that joins it to the lower panel. This also seems to be true for the lower panel itself, and, as seen from the lace, it is very nearly a straight seam. You could almost cut these two panels as one flat piece. But here’s what the padded jersey looks like in cross-section:
As you can see, there is a light foam sandwiched between two layers of jersey and bonded to it. The whole thing is about 3.5 mm thick.
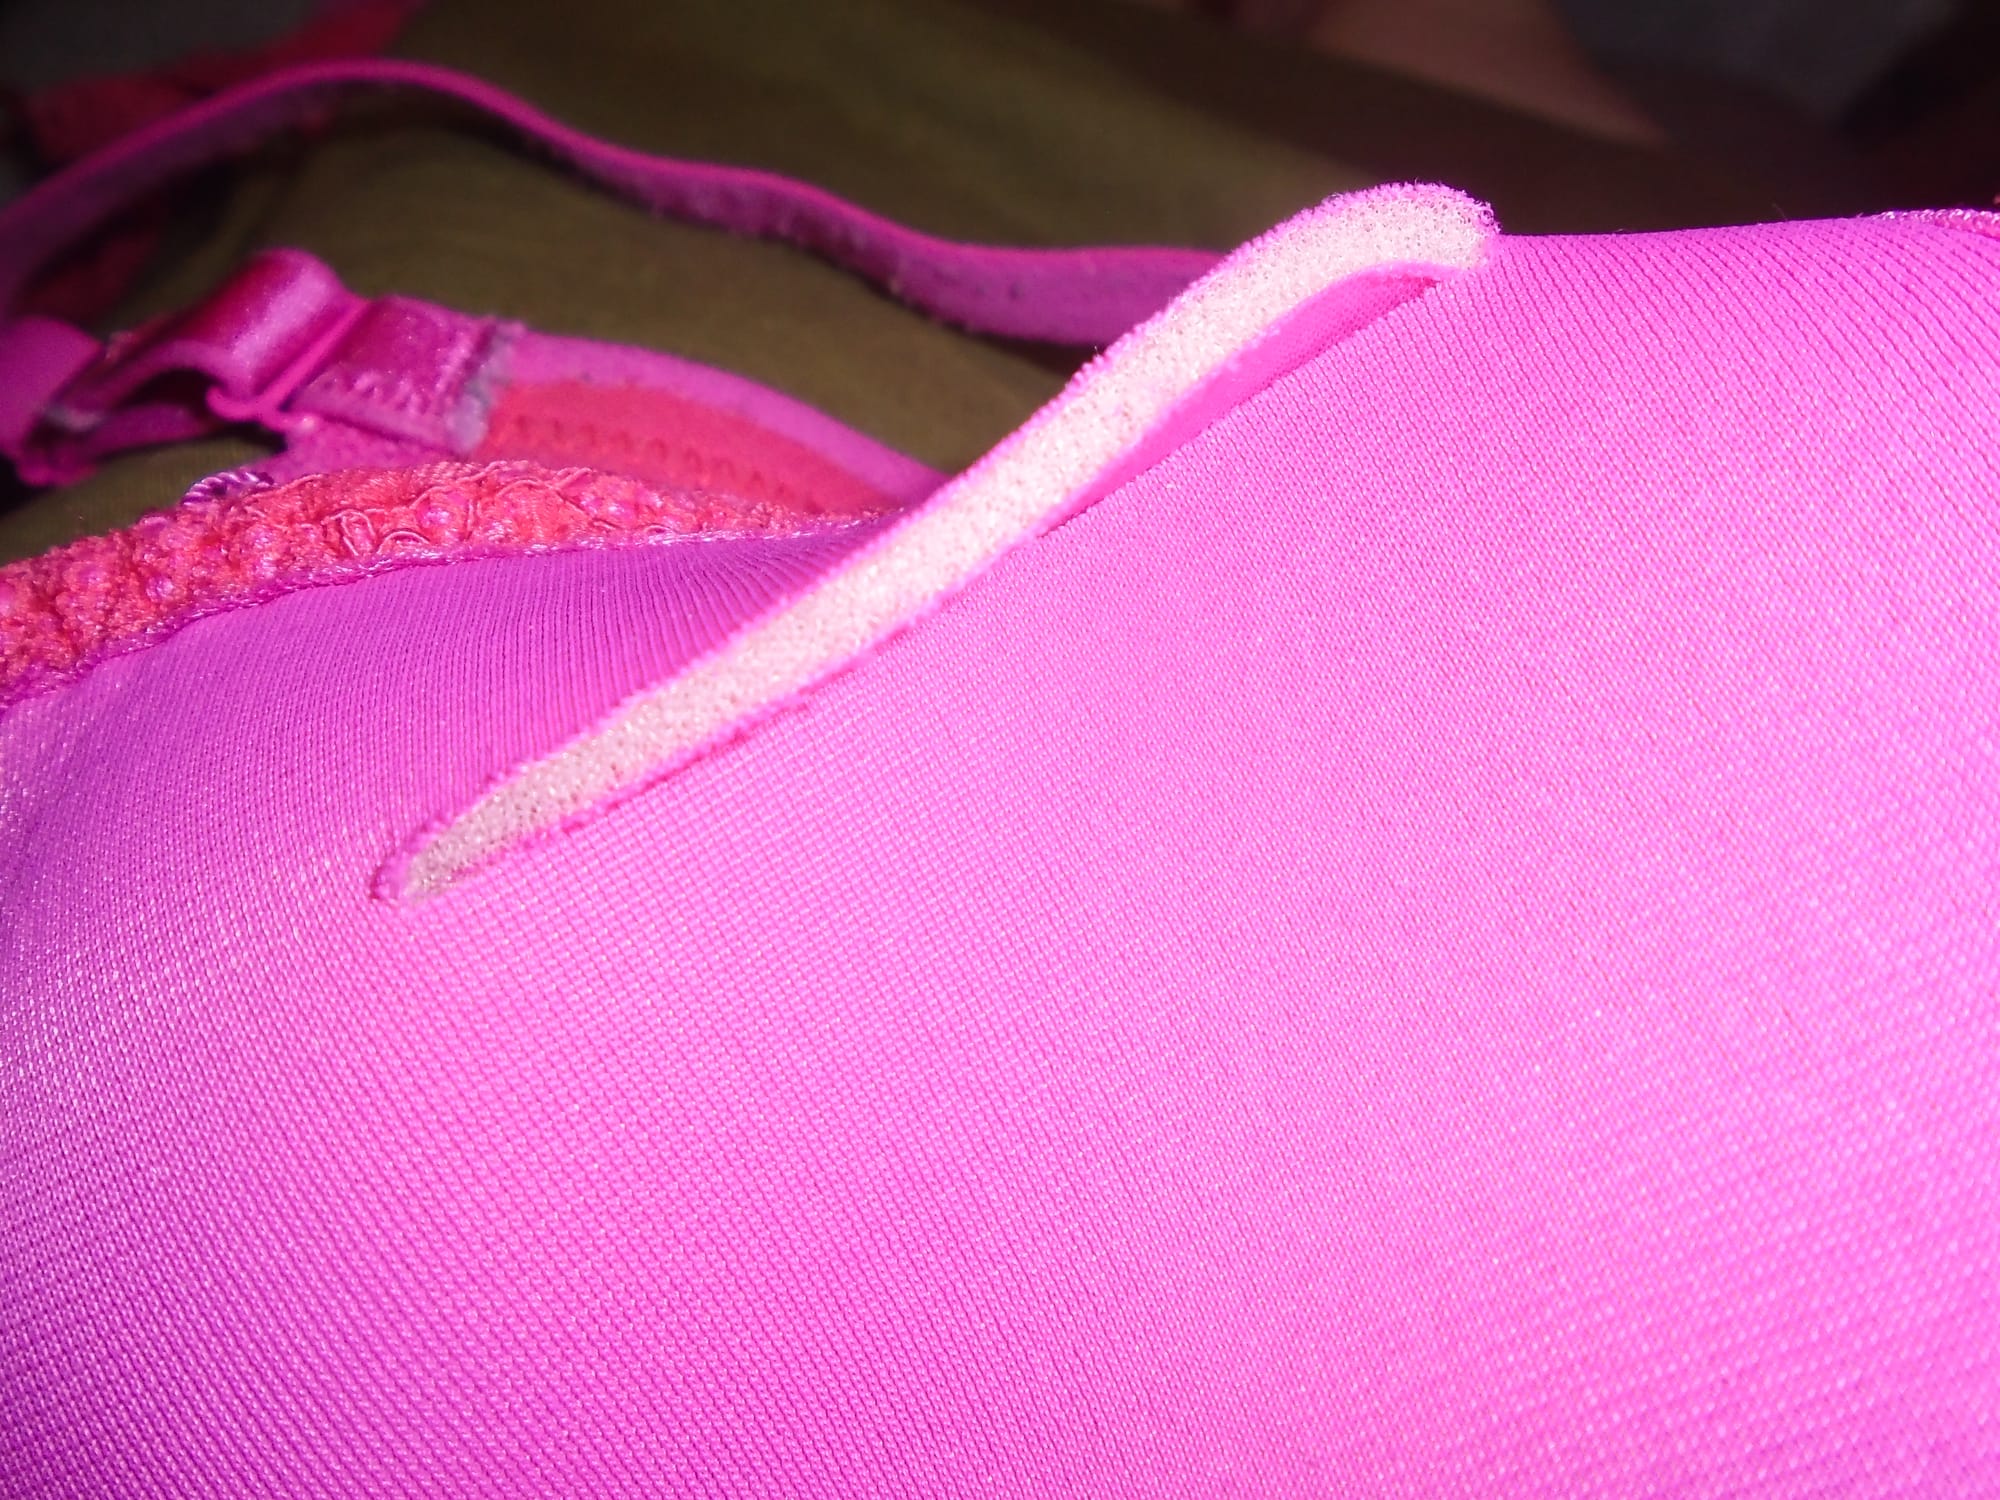
It’s also worth noting that where the seams are taped (which is on most of the bra), it has been done with what appears to be the same rigid mesh as is used elsewhere, cut on the grain. The edges are turned underneath somehow, but I can’t see exactly how; it’s certainly a very neat and accurate job, even on the seams that aren’t normally visible. This seam, however, is not taped:
Power mesh doesn’t fray, and taping it would just add unnecessary bulk. Since the seam is on the inside of the bra, they’ve left it as it is, which is perfectly acceptable.
In conclusion, this seems to be quite a simple pattern but extremely well executed. For a push-up it was really comfortable until I got too big for it. I haven’t attempted to do a full reverse engineering job on it as there is no point (I need a larger back size and at least one larger cup size), but I’m hoping that what I have done is enough to give anyone interested in bra-making a good idea of what is going on with this style.
Finally, some general fitting advice. You need to choose your underwires first, because everything else works round them. Underwires do not come in absolute cup sizes because the cup size is proportional to the back size; so the underwires for the 36E bra I’ve just dissected would also fit 38DD, 40D, or 42C going one way, or 34F, 32G, or 30GG/H (depending on the manufacturer) going the other. So you pick the underwire that neatly sits around the base of your boob. It should not be actually on your boob anywhere, it shouldn’t dig in (if either of those is true it’s too small), and it shouldn’t stick out or flap about (if it does that it’s too large). Once you have that, the eventual cup size will depend on your back size. To find that, measuring is of rather limited use. It’s usually best to start with a good estimate, make a mock-up of just the band in that size, and check that that’s a good fit before you start adding the cups. You will probably end up making several mock-ups, including those of the complete bra… which is another reason I don’t sew bras. When you sew by hand, you don’t want to be making half a dozen mock-ups. But since a bra does have to fit exactly, if you’re using a machine it is well worth doing.
And if I did want to make a bra, I’d go to Cashmerette; they have three styles – regular underwired (Willowdale), non-wired (Loftus), and strapless (Symmes), all of which are amazingly supportive even for the extremely well endowed. All come with detailed instruction leaflets, and there are also sew-along videos available which give a lot of general instruction about bra construction as well as talking about the specific style being made. There are even kits available for all these bras in several different countries. Thankfully I don’t need to do that; Bravissimo have me covered, and will for the foreseeable future.
Still… it’s good to know it’s possible, right?