Everything in its place
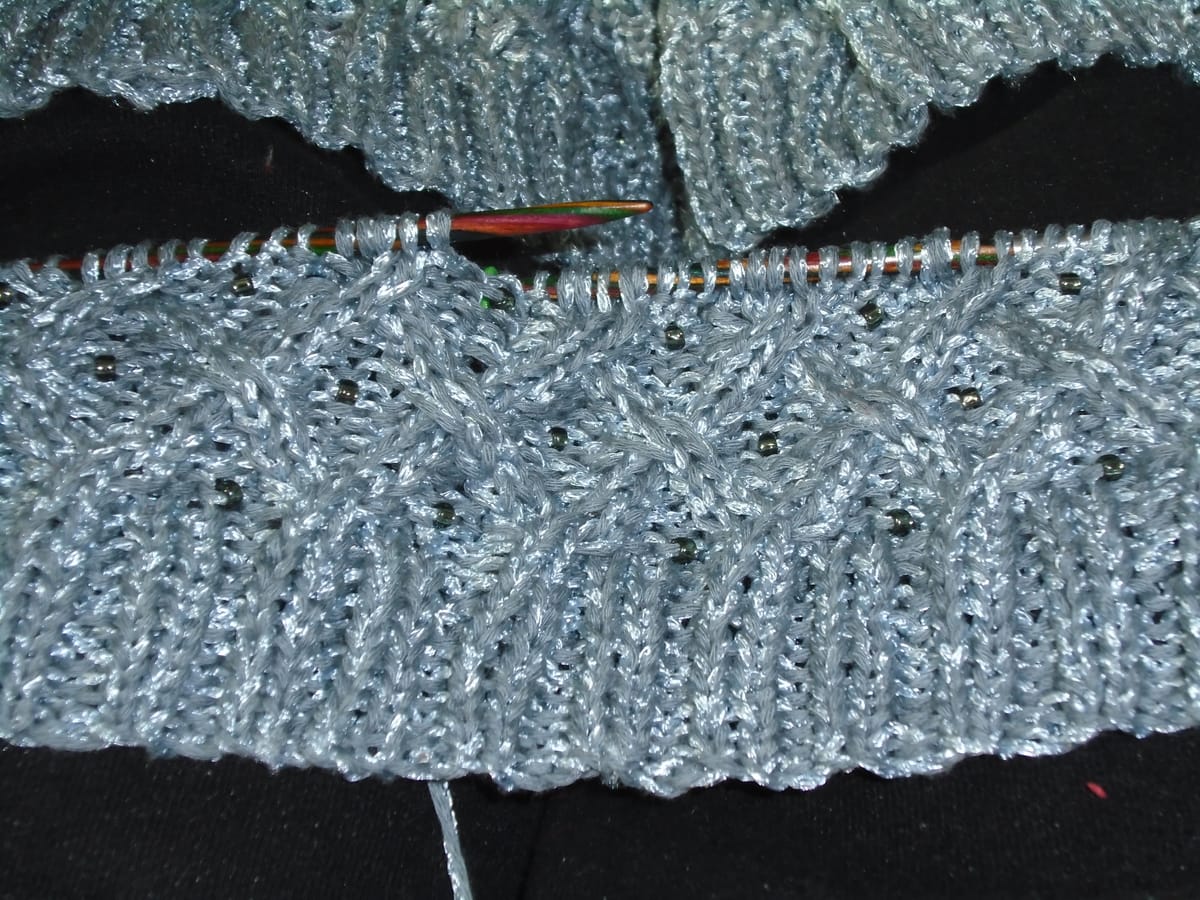
So, obviously, I like knitting and I like beads; and therefore it was only a matter of time before I decided to put the two together. This is the start of a beaded top I designed using Paintbox Metallic, and I mostly want to talk about the beading today, but before I start on that I want to digress a little to talk about the yarn.
Paintbox Metallic is... well, it rather stretches the definition of "metallic", but it's a nice yarn to work with, nonetheless. It looks pretty shiny in the photograph because of the camera flash, but it isn't always quite so shiny. It depends very much on the light. It is composed of one strand of cotton, which is matt, plus one strand of polyamide, which is about as reflective as, say, raffia; both these strands have a chainette construction, so the only way the yarn can split is if the two strands separate (which they do sometimes, but it's not a massive problem). The two strands are never quite the same colour, but the difference between them varies according to the shade. The bright red is called Sangria, and in that one the colours are very close so you get a nice subtle marled effect. The grey I'm using here is called Dark and Stormy, which has a higher contrast between the dark grey cotton and the silvery polyamide; there's another shade (I forget what it's called) which uses the same silvery polyamide with white cotton, and that also looks very effective. If I recall correctly there are maybe eight or ten shades to choose from. It is a DK yarn, it's summer weight (about as cool as pure cotton), and I personally really enjoy knitting with it; however, it shouldn't be used for anything that is going to get heavy wear, as it is inclined to fuzz. In particular I have to be very careful to keep it away from the Velcro fastenings of Sibyl's bag.
I originally posted this photo on Mastodon and talked a little about stringing the beads on the yarn, and I got a "helpful" reply: "Oh, you don't need to do that! All you need to do is..." And there followed a description of how to put a loop through the beads so that you placed them one at a time. It was well meant, so I think I just thanked them kindly and moved on. I'm not denying that that method has its advantages; not only does it save you a good deal of calculation, but also, if you place a bead by that method, it will stay put. It can't slide along the yarn and go and hide at the back of the work. Nonetheless, it didn't give the effect I wanted. A bead placed individually will be inclined to stand out from the fabric, whereas a bead that is strung on the yarn and knitted in from there will lie flat.
Pre-stringing your yarn, however, does take considerable thought. The first important thing is that you need to know pretty accurately how much knitting you are going to get from one ball of the yarn you're using; it's usually convenient to think of this in terms of rows or rounds rather than stitches. (My top is mostly knitted in the round.) Fortunately, in this case I didn't have to spend a lot of time knitting large sample pieces, because I had already made this wretched thing in the same yarn. (I may possibly have to dedicate a whole post to the wretched thing. Suffice it to say that it looks gorgeous in the photos but... ) So I already knew what I could get out of one ball. Once you know that, you count your lattice diamonds (or wherever else you're going to put your beads) and work out how many beads you need for the number of rows or rounds you can get from your ball, and then string them on accordingly. I would generally put on a few extra in case of accidents; no matter how careful you are, just occasionally you'll find you've placed two beads together where there should be only one, and unless you want to take the whole lot out and re-do it, there's not much you can do about that.
Your choice of beads is important. Most beads won't work because the hole is too small to take your yarn, though you could probably use what are referred to as "miracle beads", as they have a larger hole than normal (I haven't tried, but at a good guess they would at least take 4-ply). Delica beads - those little cylindrical ones I like to use for spectacle chains - also work well with 4-ply. Normally, however, you have to search specifically for knitting beads. Macrame beads would also technically work, but unless you're knitting something extremely extroverted you'll probably find they're too big. I get mine from Debbie Abrahams, who do a wide range of colours; their beads will work on any yarn up to DK weight. As a guide, three bags of their beads will comfortably do a top like mine (which has short sleeves).
And then there's the question of getting them onto the yarn. The ideal way to do that is to use a flexible-eye beading needle, which looks like this (not my photo - I will confess I cribbed it from Etsy, but only because I wasn't at all confident of getting a good photo of one of mine):
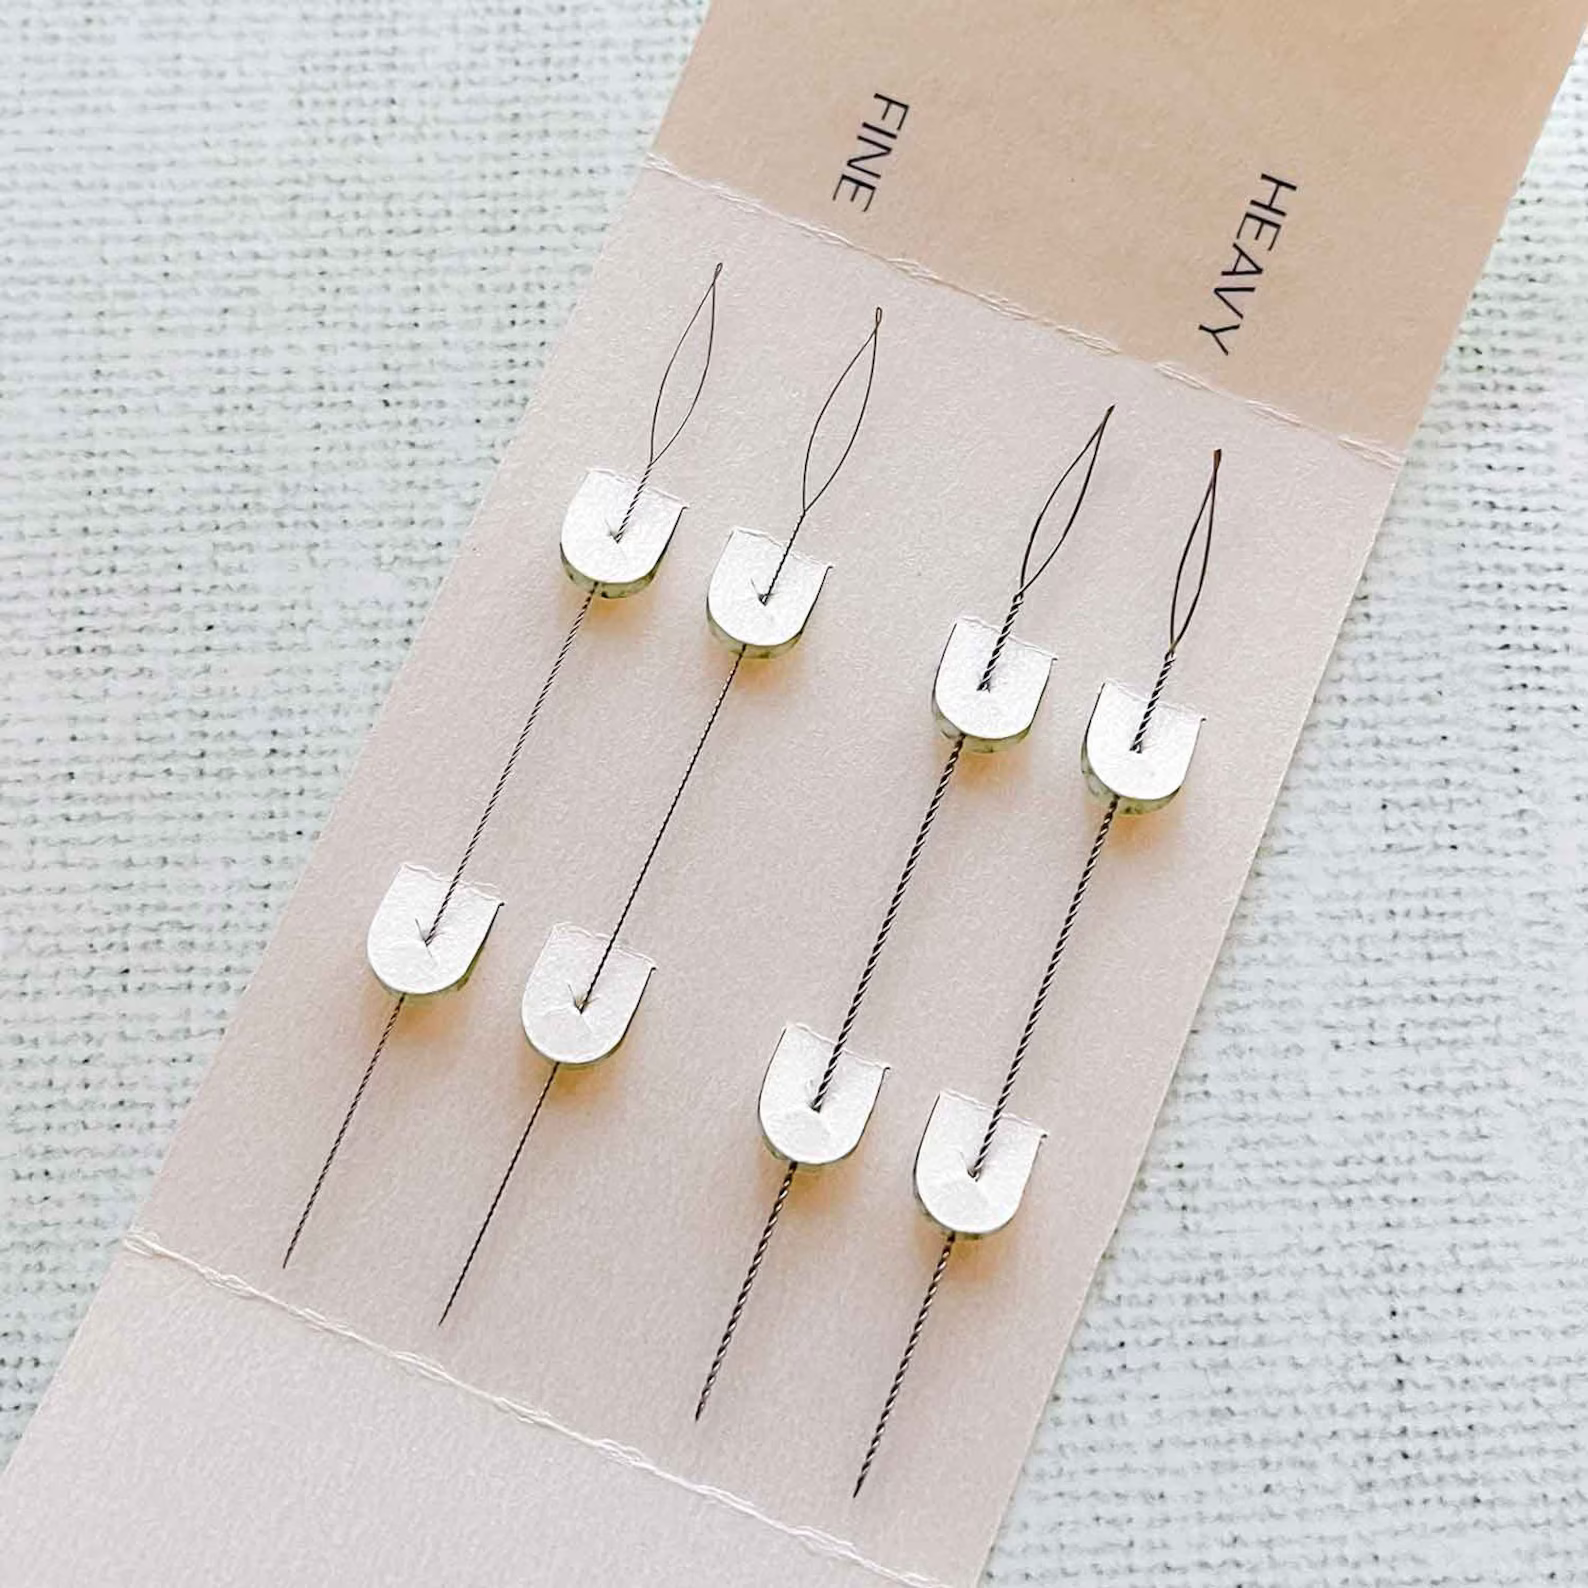
The eye easily opens out wide enough to take the yarn, then collapses when you pull it through the bead. However, if you don't have one of these, there is another way to do it, though it is fiddly. You thread an ordinary sewing needle, preferably a largish one, with topstitching thread or (if you can get them through the eye) three strands of embroidery cotton; you want a fairly short length, maybe about 20 - 30 cm. Double it over so that the centre of the length of thread goes through the eye, then thread a few beads onto your needle (five or six is about right) and push them a little way down onto the doubled thread. Thread the yarn through the loop between the eye of the needle and the beads. Now slide the needle down one side of that loop and push it back through the beads, eye first, until the needle has gone right back through the beads and you are left with a loop of thread above the beads with a length of yarn threaded through it. Pull the beads off the loop and onto the yarn (so they are now on a loop of the yarn); and, finally, pull the free end of the yarn loop through the beads so that they are threaded on the yarn.
You see what I mean? It's a lot easier to use a beading needle.
Anyway, this is what the finished result looks like:
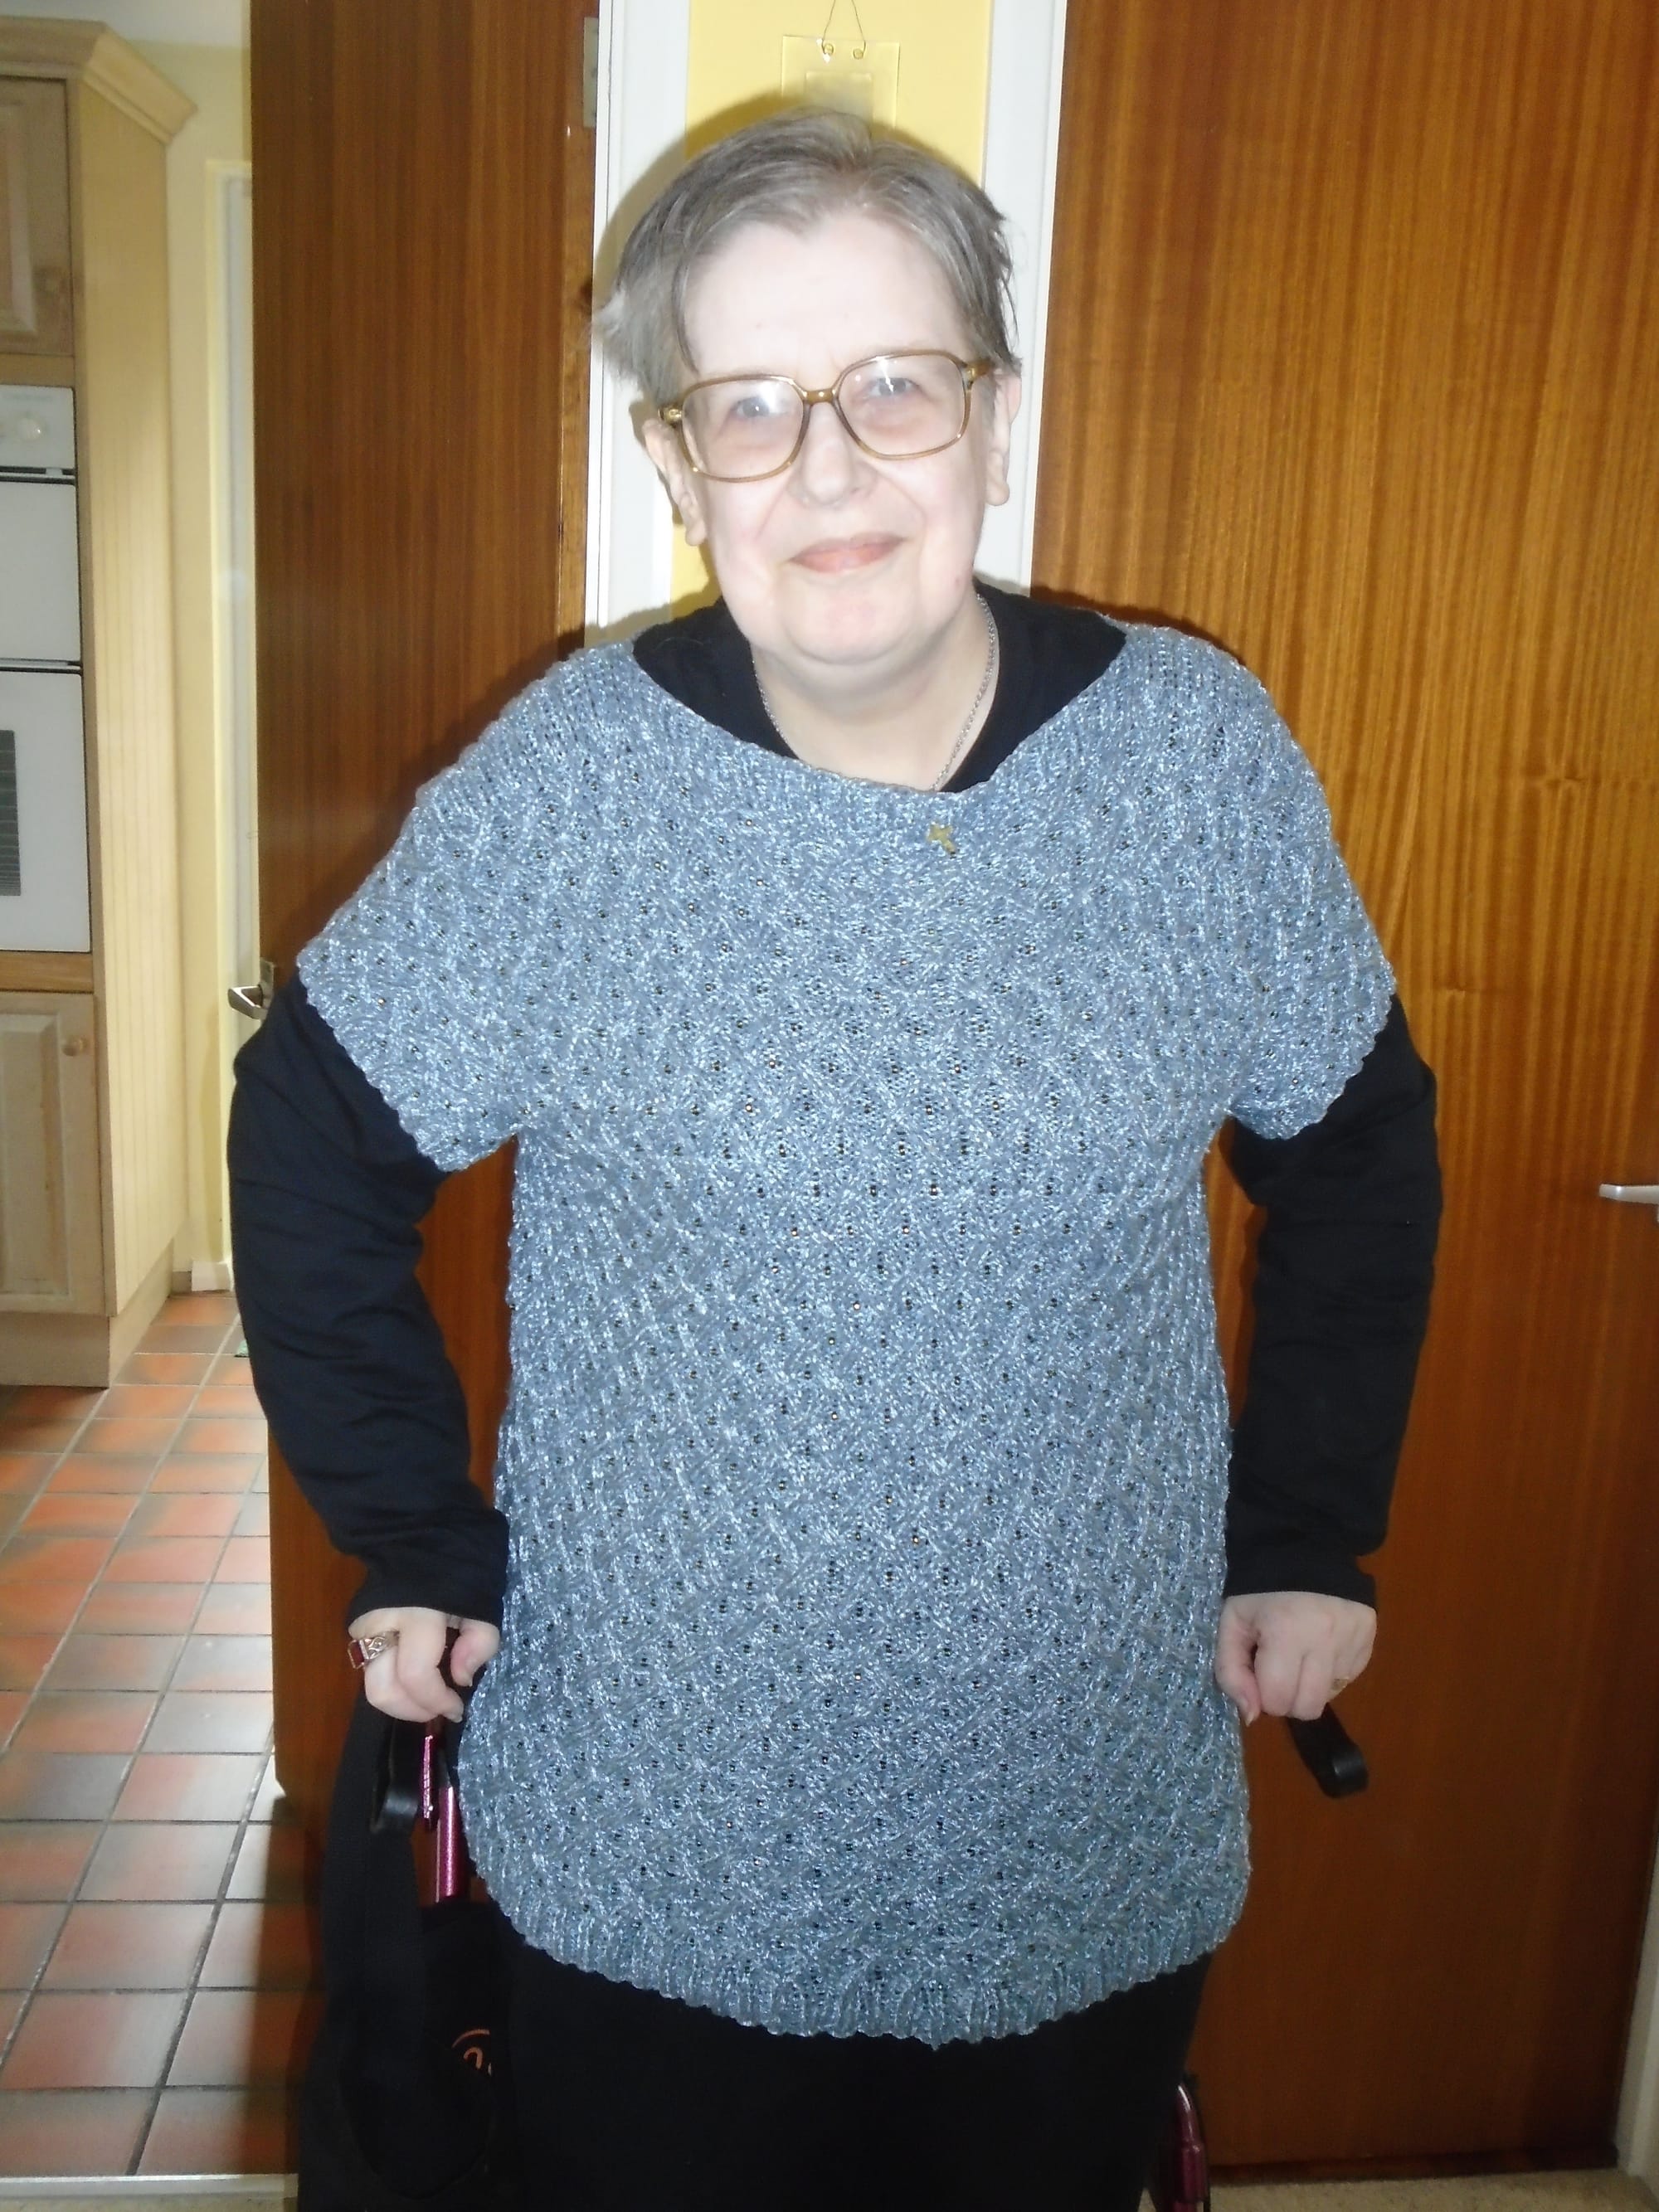
I made two, in fact. The other one's ecru and light gold (the shade is called Bellini), with gold beads. As you see, the weight of the fabric does tend to mean it hangs pretty straight and I don't look as if I have a waist when I'm standing up; however, I'm very rarely seen standing up, and the waist's there when I sit down, so it's not a real problem. (Oh, and that thing I'm leaning on? That's Stanley. My faithful rollator. He has a pair of goggle eyes stuck to his front handle, because I don't believe mobility aids need to be boring.) And when this thing eventually wears out, the beads, being glass, will still be in perfectly good nick; so I'll just snip them all out carefully and re-use them. Waste not, want not.
And, just as a bonus, if anyone ever asks me to knit something that looks like a chainmail shirt, I'll know what to use!