Adelaide, Adelaide
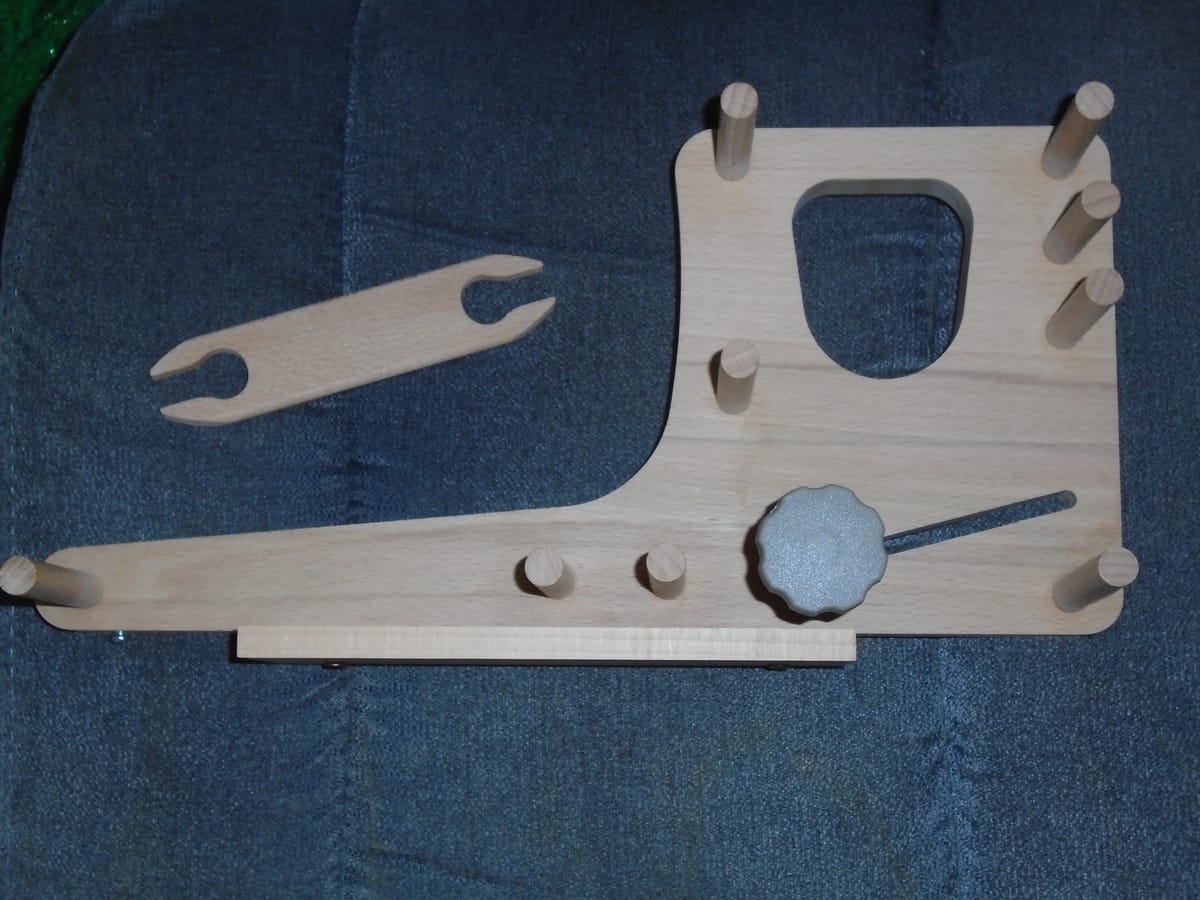
A rather damp (but cheerful) young postal worker arrived yesterday morning with a mysterious flat parcel, and as soon as I saw the label I realised I had Adelaide. I was quite surprised that she'd go into anything quite so flat, but once I got the box open, the mystery was solved. She doesn't need quite as much self-assembly as Gisele, but she does need some. In essence, you have to: a) insert all the pegs and glue them into place; b) screw on the base; c) insert that tiny little screw you can see on the extreme left of the photo, just below and to the right of the leftmost peg; and d) install the tension peg, which is that thing with the round crenellated plastic knob at the base of the sloping slot at the base of the "flag" part. And, as with Gisele, they provide a bit of sandpaper; they also provide a small bottle of PVA wood glue, which would have come in handy for Gisele as well, so anyone planning to buy both looms should probably get them both at once.
The wood is lovely quality, but the cutting, alas, is not quite so precise as for Gisele. I tried inserting the pegs into the holes. Not a single one would go in. Well, the instructions helpfully suggested that if the fit was too tight you could sand the pegs down a bit, so I took up my bit of sandpaper and had at it. It tore almost immediately. I still managed to get a reasonable amount of sanding out of it, with care, but it was very fortunate that I still had Gisele's sandpaper, which was much better quality. With the aid of the two pieces of sandpaper I managed to get all the pegs to the stage where they at least fitted into the holes; they wouldn't all go all the way down, but by this point I was getting tired. I thought, if they'll go in, that'll do. If they do for any reason come out again later, I'll just sand them a bit more at the time.
Oh. Wait. Maybe that was why they said you needed a hammer. I have such a thing, but I didn't actually use it, because it didn't specifically tell you to hammer the pegs into place. Oh well, we'll just have to see how she fares in use.
The rest of the procedure was a lot easier. They suggested using candle wax or soap on the screw threads, and I looked at that and thought, well, I could use cocoa butter, but in fact I've never needed anything like that for wood screws and I've used a fair few of them in my time. And this is me talking. The person with the fairly major lack of physical strength, especially in the arms. So I decided to try without; I just rummaged through the drawer till I found a posidrive screwdriver the right size, and screwed the base into position without a hint of a problem. Similarly, the little screw on the left-hand side, which is for holding the start of your warp in place, which is why you don't screw it all the way in. And the tension peg is really easy; you can't see the peg itself from the photo, but it is a wooden cylinder with a narrow hole through the middle, through which goes a bolt, after the bolt has gone through the slanted slot from the back of the loom. You pop a metal washer over the end of the bolt and then screw the knob into place.
So far, so good; but I do think the sales information ought to mention that some assembly is required, and it should also say what is provided (wood glue, sandpaper, screws, washer, bolt) and what you need (posidrive screwdriver, and... well, the jury is out on the hammer). It is a curious thing, but not everyone has DIY tools to hand. I wouldn't have wanted to open the box and then suddenly find I had to borrow a screwdriver. It's also worth mentioning that the instructions recommend a coat of varnish, or similar. I do have some varnish somewhere, but I bought it for air-drying clay and I'm not sure if it's also suitable for wood.
However, once you're over that little hurdle, the weaving instructions are extremely detailed. I haven't had the chance to get her warped up yet, but the nub of the procedure is that all the warp threads go over most of the pegs (all of them, or all but one, if you're weaving the longest length, fewer if you're making a shorter band), but at the point where you're weaving, half of them go over one peg and half skip it, alternately. The warps going over the peg have what are called "leashes" attached, which are individual string heddles. These are what create your shed. Because they're individual, you can either pull them all together by raising or lowering the other set of warp threads (which is what you'd do most of the time), or you can manipulate them individually, giving scope for a much greater variety of designs. I was beyond excited to discover that this loom can even weave lettering! You can do that with tablet weaving, and I've had my eye on a tablet loom for this very purpose; I had no idea you could also do it on the Inklette. (With Gisele, useful though she is for other things, there's sadly no hope of anything like that. Because of the fixed heddle, you're stuck with strictly alternating warps. Granted, there's a surprising amount you can do with that; but lettering isn't one of them.)
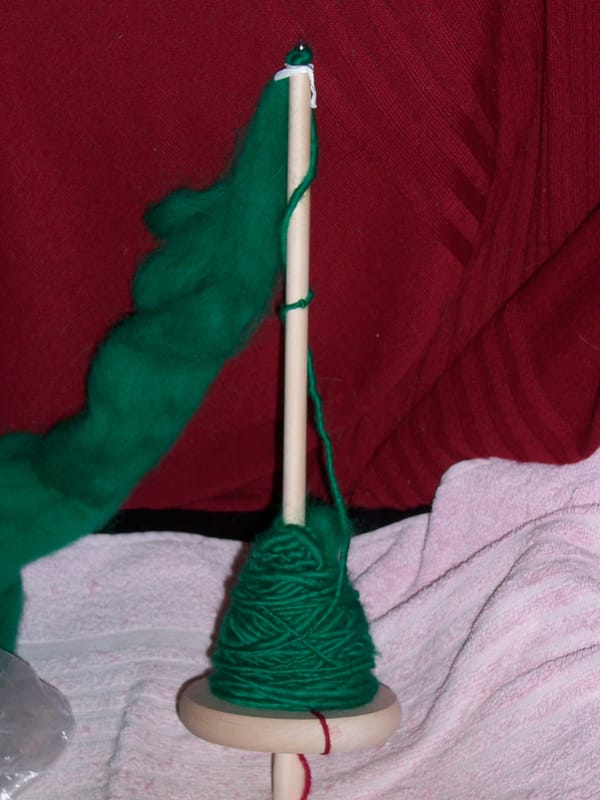
Oh, and another thing. With Gisele you cut all the warp ends first, then thread them on. When I did that on Sunday, they got a bit tangled; nothing I couldn't sort out easily enough, but one of them did end up with a knot in it that I didn't spot till it was too late. So I decided I'd have to use a different approach next time to avoid that, and I was also a little worried about how that would work with Adelaide, who is capable of taking a lot more warps. As it turns out, that's not a problem. You wind the warp straight onto the loom from the ball or cone, and when you need to change colour you just cut the thread and tie in a new one, so what you have is a single continuous warp that goes round and round the circuit. In this way, all your warp ends are automatically the right length and nothing gets tangled or knotted. It's a very ingenious system, and there will certainly be another post once I've had the chance to try it out for myself.
In the meantime, I am still working like a beaver to keep on top of the knitting, but the end is in sight. I'll finish that green jacket today!